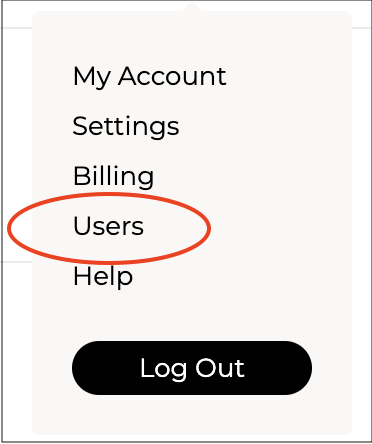
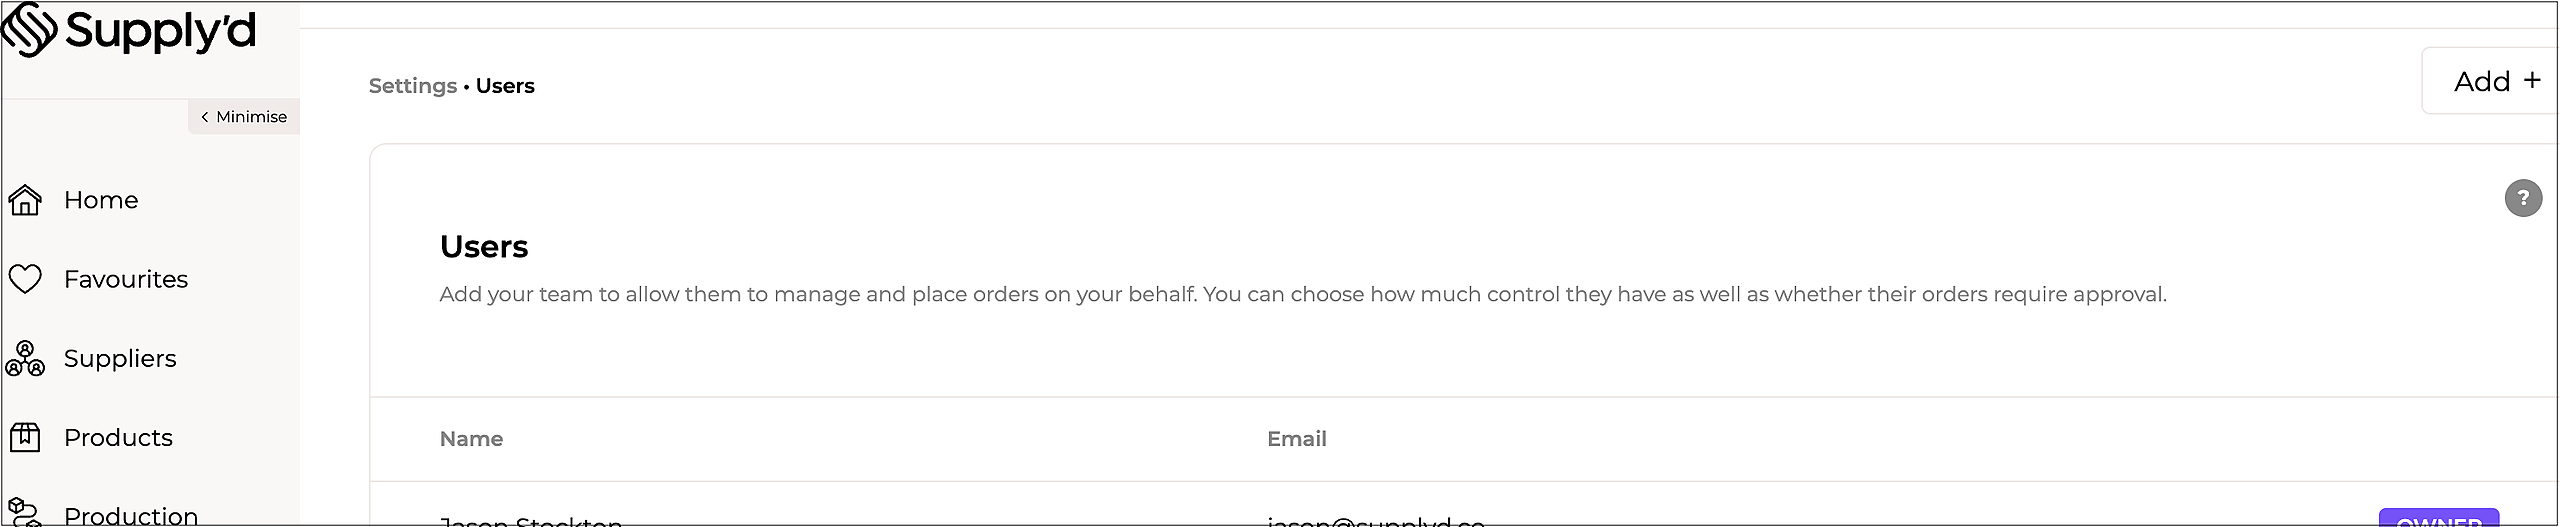
To manage users click on your name or company logo in the top right-hand corner, then select "Users". Here you can see a full list of users that have access to your account.
Adding & Managing Users

To add a new user click on "Add+" in the top right.
Fill out the fields based on the guidance below:
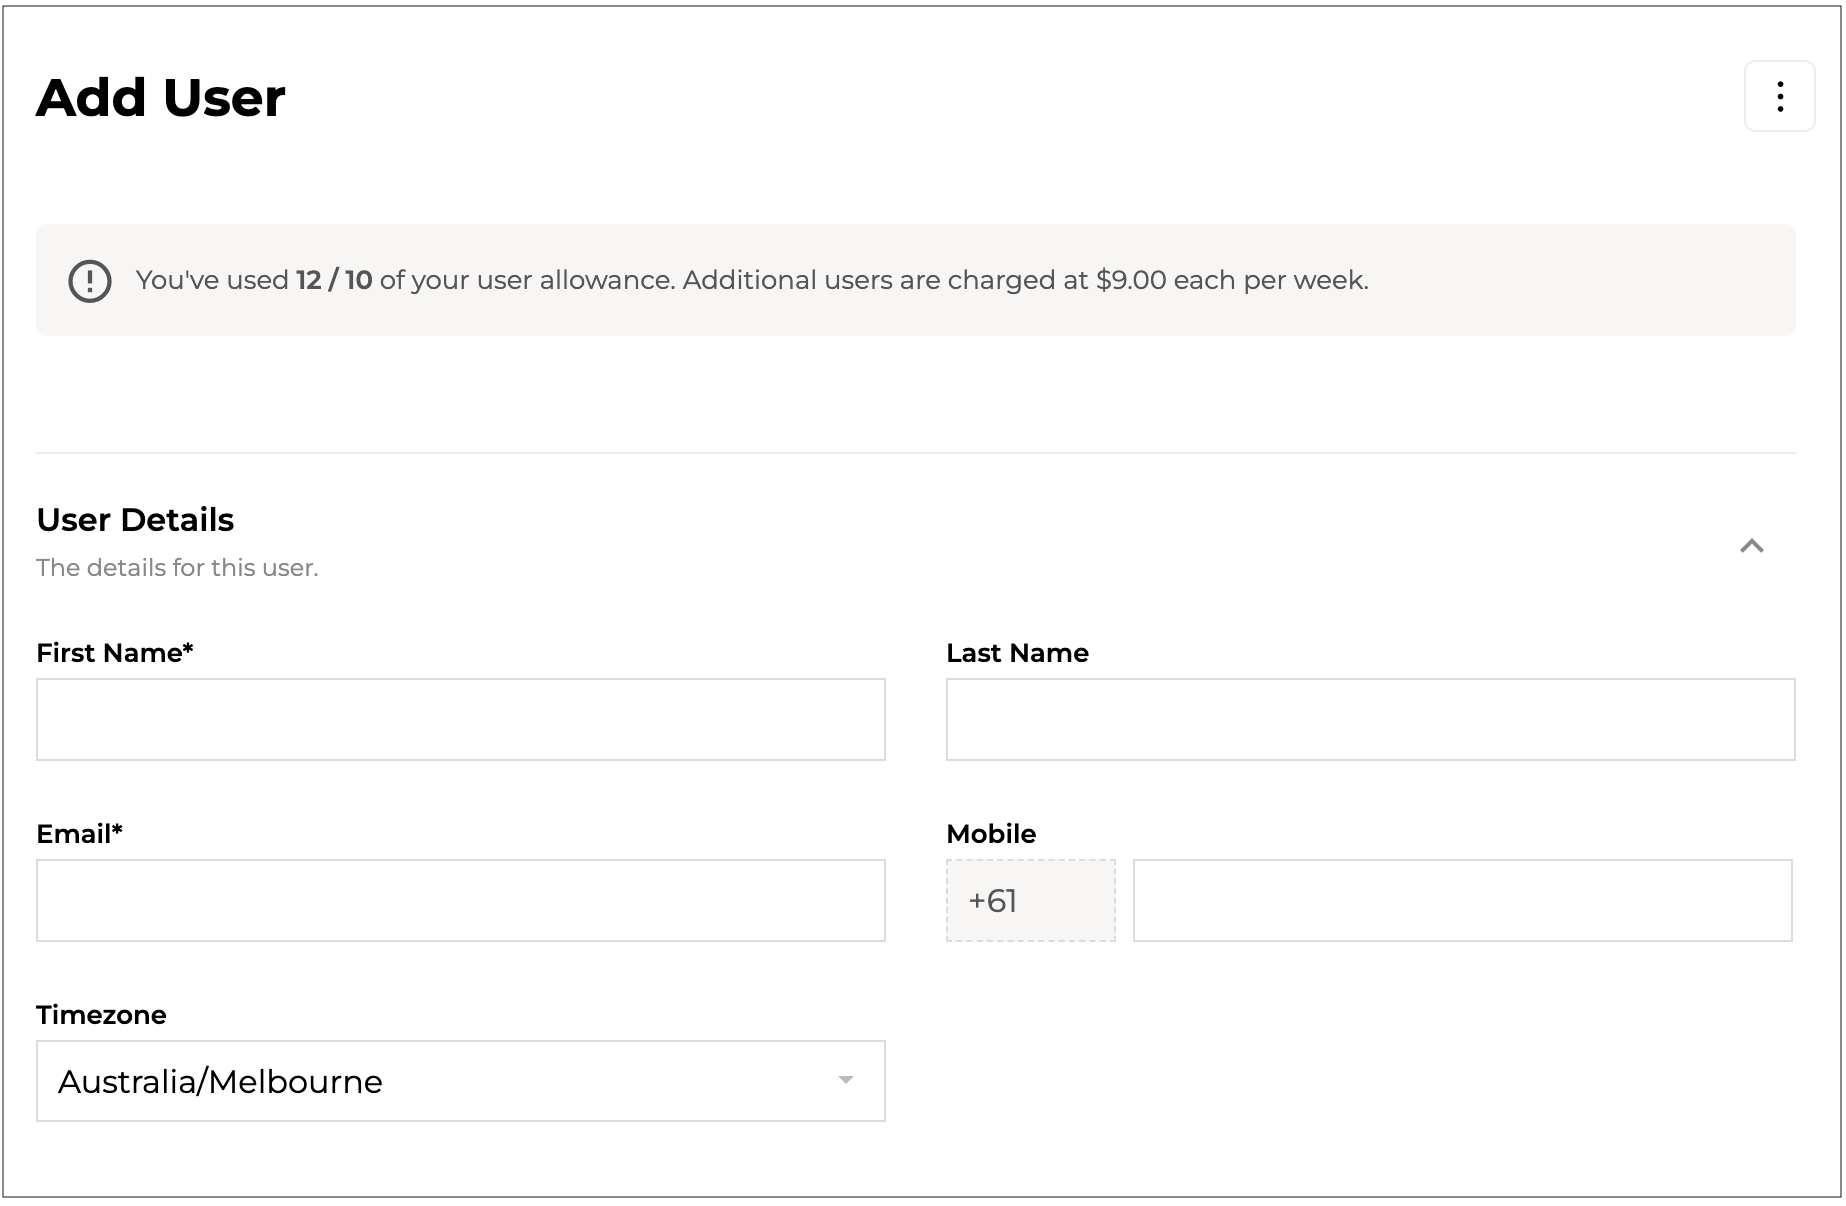
- First Name* [required] - The users first name.
- Last Name - The users last name / surname.
- Email* [required] - The users email address. The users email address must be unique and cannot already exist within Supply'd.
- Mobile - The user's mobile phone number.
- Timezone - Select the timezone the user is in from the drop-down.

- Account Type - Set the account type for this user.

- From the drop-down list, select the type of user that this account is for:
- Standard: A standard user has access to any functionality you choose.
- User Group: A user group is a user when logged in, a pin will be required for a user within this group. This is useful for accounts where the main login is shared but you still wish to track user activity.
- Sales Rep: A sales rep is a restricted user who only has access to customers and orders for which they are associated to as a rep.
- Production: A production user is restricted to only the production section of Supply'd.
- Delivery Driver: A driver that performs delivery runs. Is restricted to only deliveries within Supply'd.
- Standard: A standard user has access to any functionality you choose.
- Notifications ("Standard" & "User Group" types only) - Choose which notifications to send to this user. When "Standard" or "User Group" are selected these additional fields will appear.
- Order Notifications - Defines whether or not this user should receive order notifications. If ticked "Email" we will send an email to the users email address once an order is placed. If ticked "SMS" we will send an SMS to the users mobile once an order is placed provided that a mobile number has been provided for the user.
- Payout Notification - Defines whether or not the user should receive payout notifications and invoices when a payout is made by Supply'd.
- Invoice Notifications - This field will only show if you are also a buyer on Supply'd. Defines whether or not the user should receive order confirmations and invoices when your company places an order on Supply'd.
- Cutoff Notifications - Defines whether or not this user should receive cutoff notifications. If ticked "Email" we will send an email to the users email address when an order cutoff is being reached. If ticked "SMS" will send an SMS to the users mobile when an order cutoff is being reached provided that a mobile number has been provided for the user.
- Order Notifications - Defines whether or not this user should receive order notifications. If ticked "Email" we will send an email to the users email address once an order is placed. If ticked "SMS" we will send an SMS to the users mobile once an order is placed provided that a mobile number has been provided for the user.
- Order Push Notifications - Select the sales channels you would like to receive push notifications for. Push notifications need to be enabled on each device you would like to receive them. You can enable them on "My Account" screen. Each device can only be linked to one user.
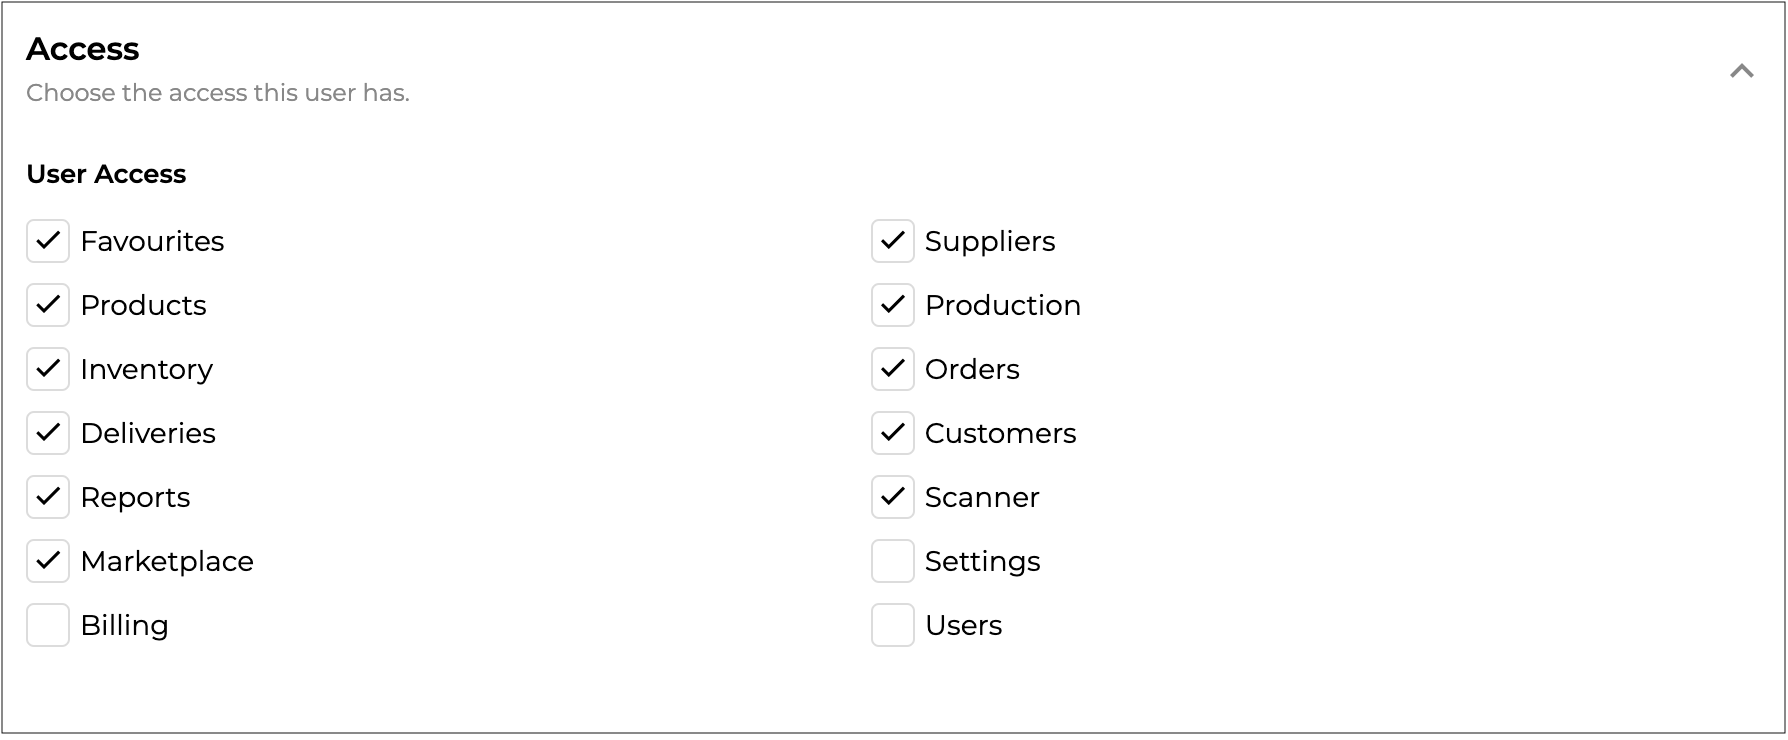
- Choose the access this user has.
- User Access - Tick the applicable boxes to allow the user access.

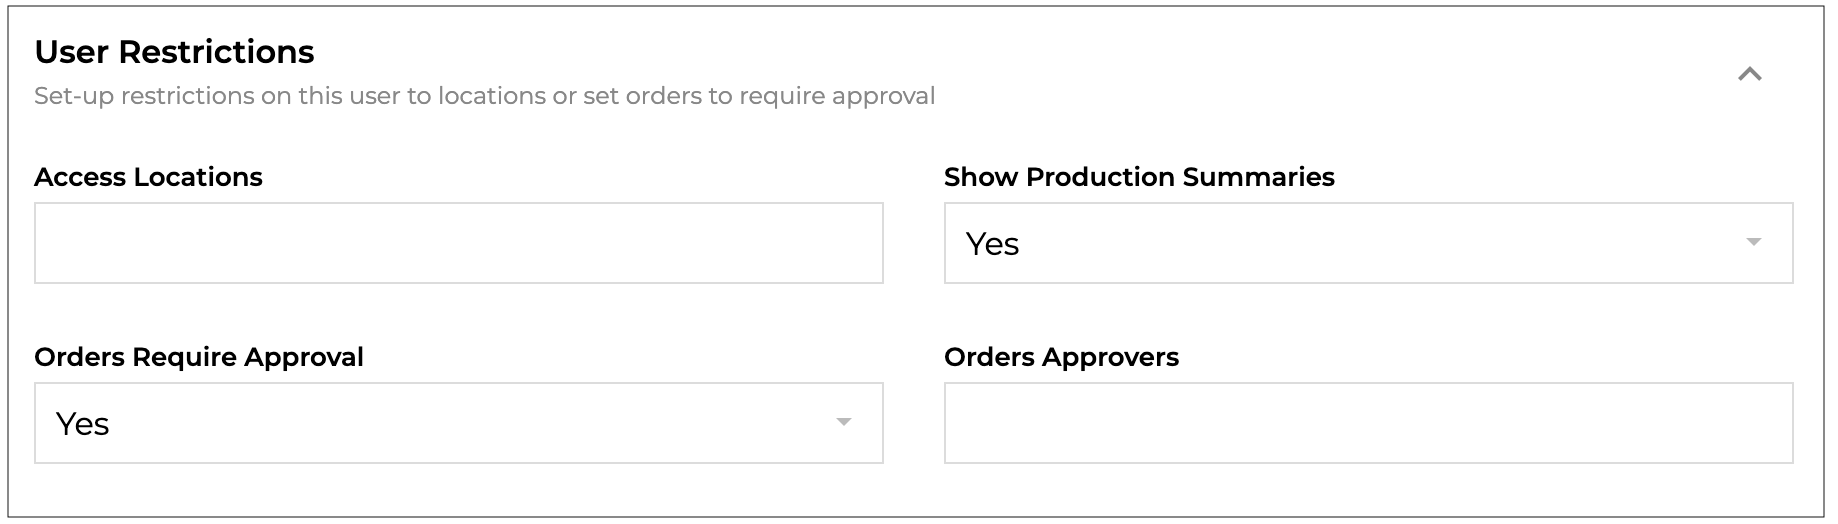
- User Restrictions ("Standard" & "User Group" types only) - Set-up restrictions on this user to locations or set orders to require approval.
- Access Locations - The locations this user can place orders for. Leave blank for access to all locations.
- Show Production Summaries - Whether or not this user can see the summaries for completed production runs. Select "No" if you would like to hide these to keep specific details such as labour costs hidden from this user. (Field is only visible if "Production" is ticked above.)
- Orders Require Approval - Whether or not orders placed by this user will require approval from another user (e.g. store manager). Select "Yes" for orders to be sent for approval instead of being sent directly to the suppliers. (Field is only visible if "Orders" is ticked above.)
- Orders Approvers - This field will only show if you are also a buyer on Supply'd and have select "Yes" to "Orders Require Approval". Defines the users that can approve orders from this user. You can add as many users as you would like. Only 1 of the approvers will need to approve the order for it to be processed.
- Access Locations - The locations this user can place orders for. Leave blank for access to all locations.
- Production Settings ("Standard" type only) - Set the values relevant to this user in production.
- Hourly Rate - The hourly rate of this staff member to allocate as a cost when tracking labour. The rate should be including taxes and other applicanle costs such as superannuation. Leave blank to use the default rate set in your production settings.

- Sales Rep ("Sales Rep" type only) - Apply the settings that are applicable for this Sales Rep.
- Visible Customers What customers this Sales Rep can see when they are logged in.
-
- Assigned Customers: The rep can only see customers they are allocated as the sales rep for.
- All Customers: The rep can see all customers, even if they are not associated as a rep to the customer.
-
- Can Edit Customers - Whether or not the user can edit customer details. Choose "Yes" or "No" from the drop-down.
- Visible Customers What customers this Sales Rep can see when they are logged in.

Click the "Save" button to add the user. The user will receive an email to set their password and start using the account.
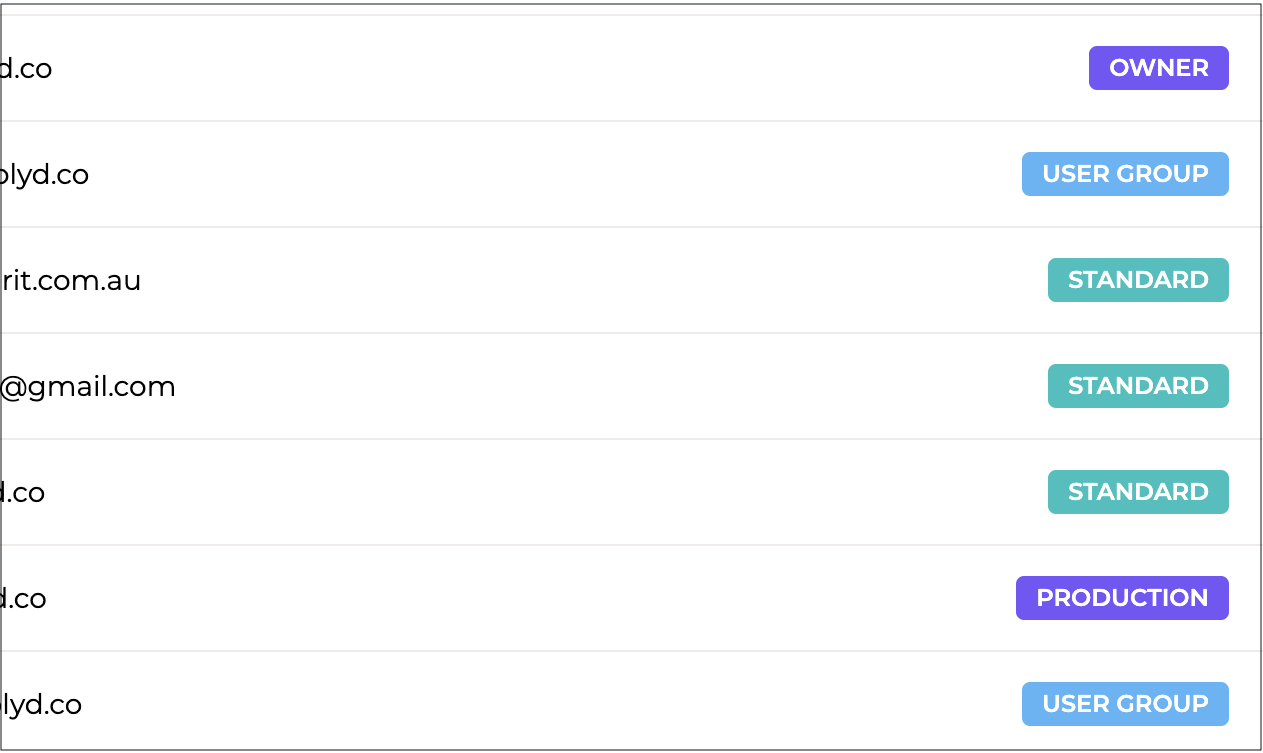
A users type will show on the Users List in a unique user type colour.
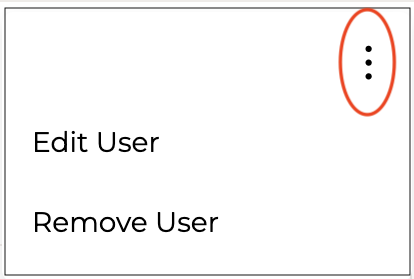
To Edit a User - If you would like to edit a user, select the user you wish to edit, click on the 3 dots in the top right-hand corner and select "Edit" . Edit the required details and click the "Save" button.
To Remove a User - If you would like to edit a user, select the user you wish to edit, click on the 3 dots in the top right-hand corner and select "Remove User". Click the "Remove" button to confirm.