Shipping Zones
Shipping zones are a delivery area. Shipping zones have 2 functions in Supply'd:
- Defining the service areas for your business. Only customers within one of your shipping zones can buy your products.
- Separate shipping pricing based on different delivery areas.
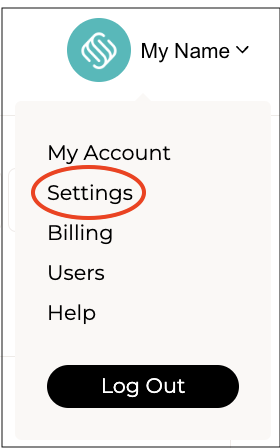
To add a shipping zone click on your company name in the top right then select "Settings".
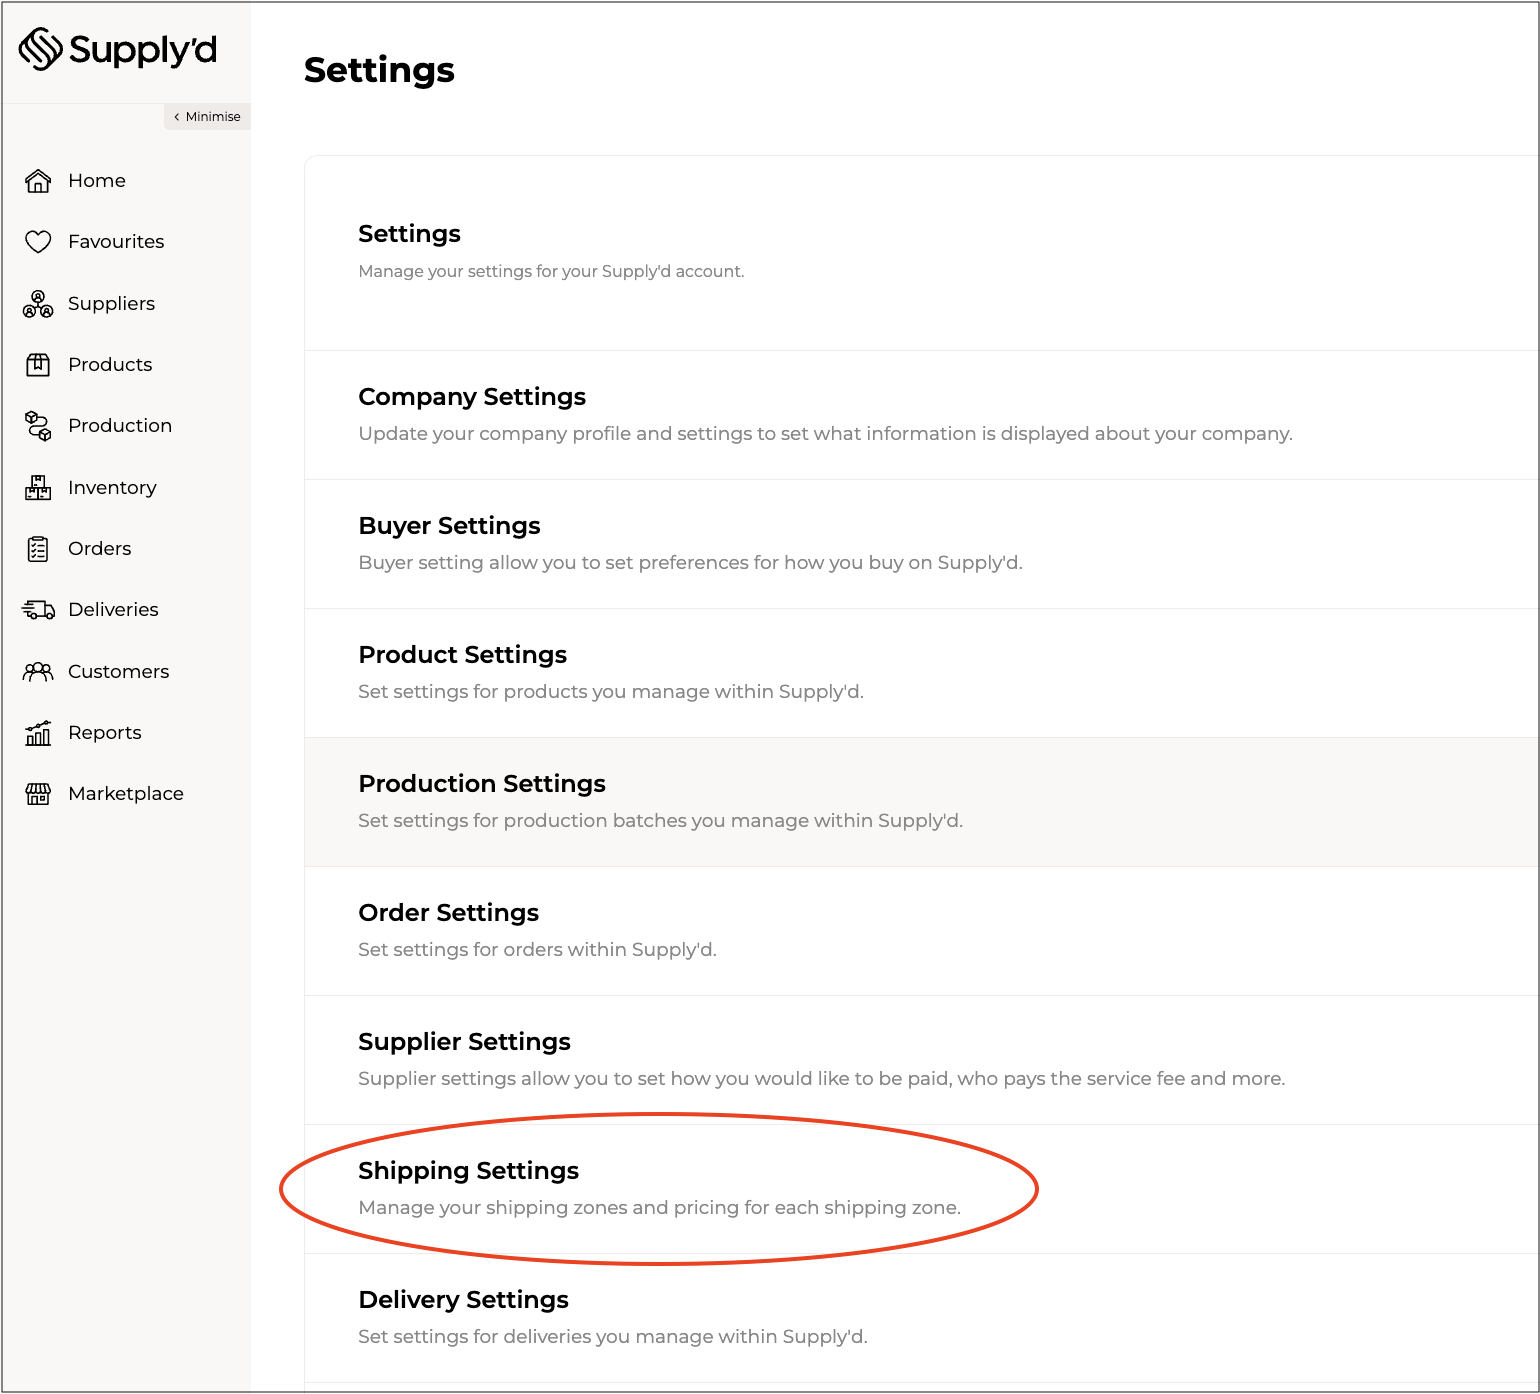
Select "Shipping Settings".
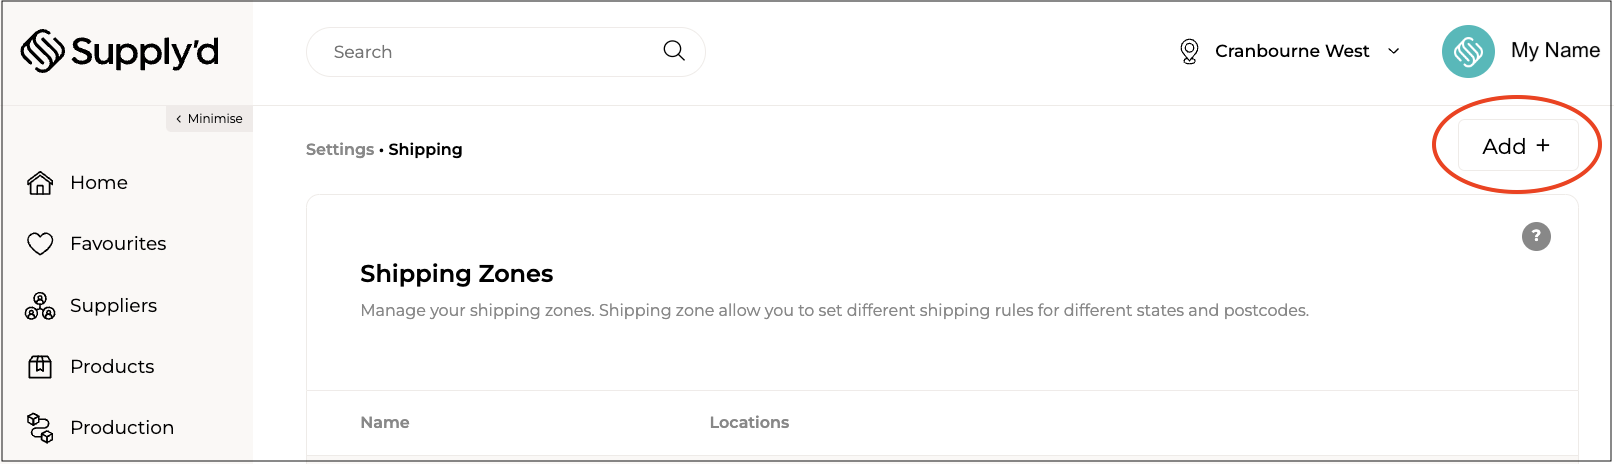
Click "Add +".
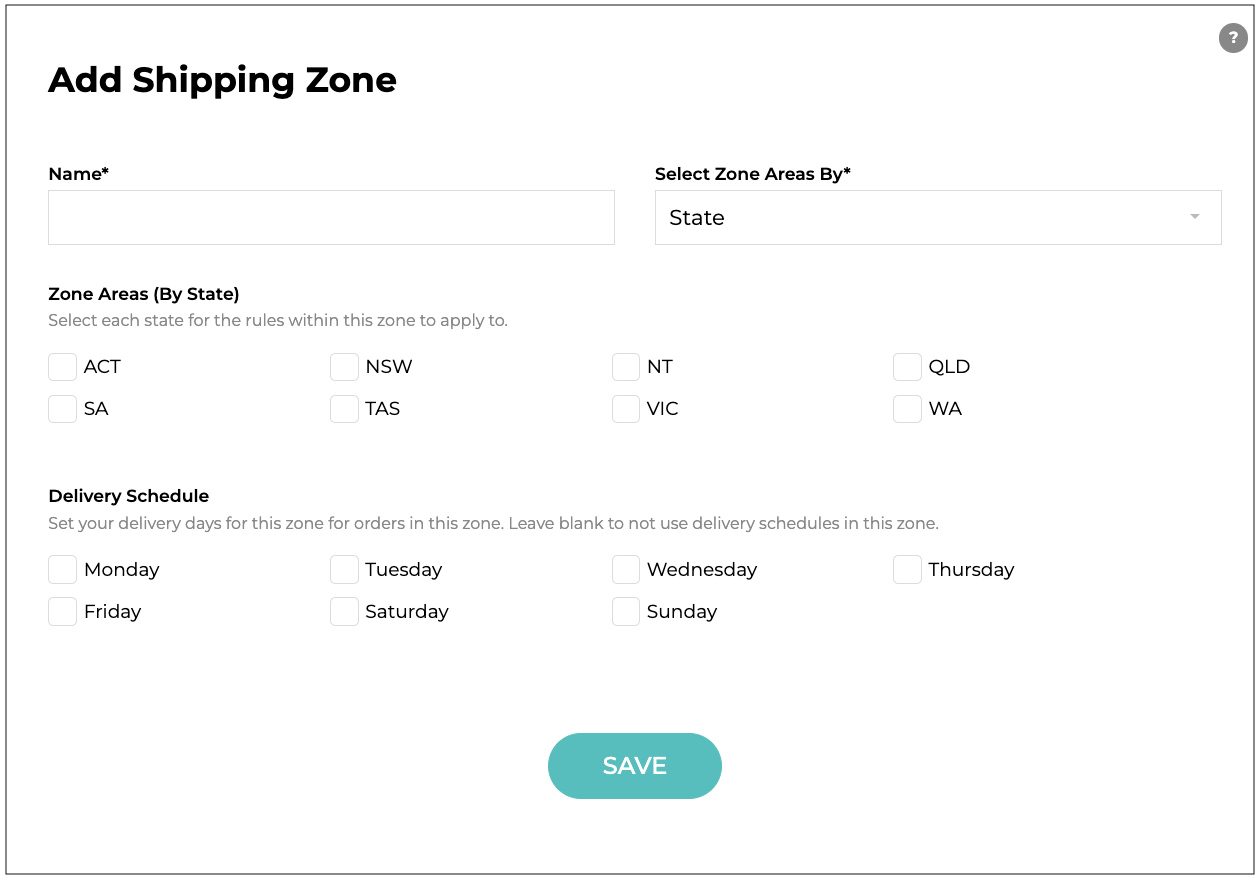
Fill in the fields based on the guidance below:

- Name* [required] - Defines the reference name for the shipping zone. For example if the Shipping zone is for servicing Victoria only you can simply name it "Victoria".
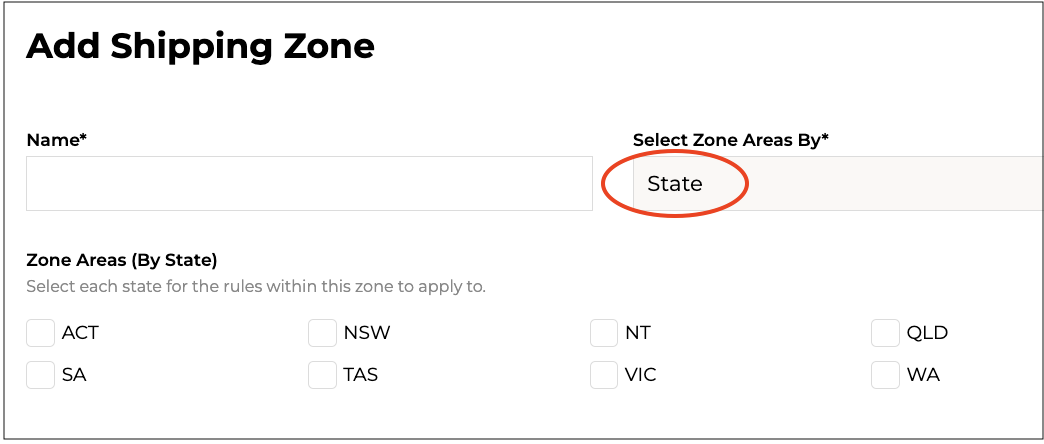
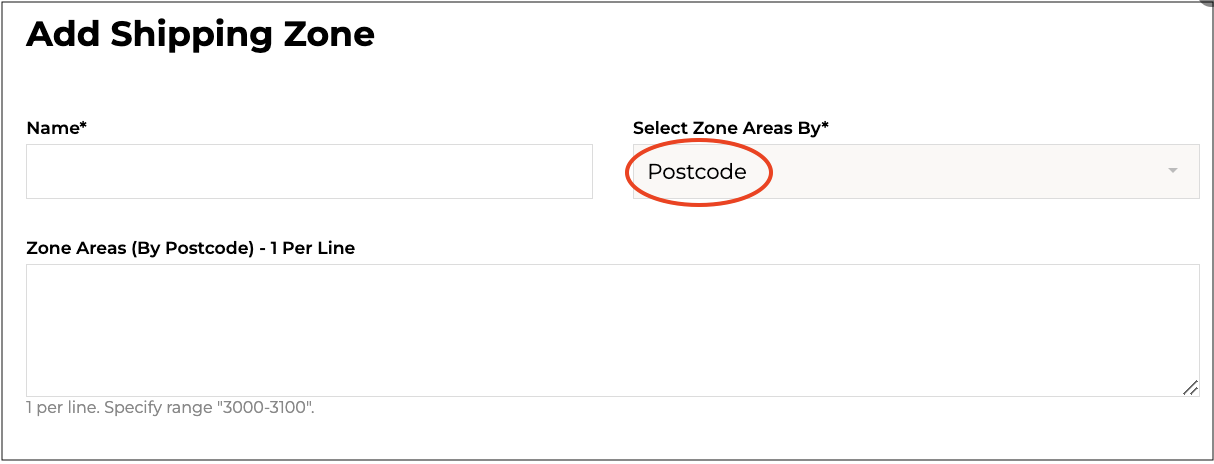
- Select Zone Areas By* [required] - This defines the areas for this zone to apply.
- State: The rules within this zone will apply to all or selected states only.
- Postcodes: The rules within this zone will apply to a list of postcodes only.
- Both: The rules within this zone will apply to a combination of states and postcodes. States will have the highest priority and postcodes can be added to apply to additional regions.
- State: The rules within this zone will apply to all or selected states only.
- Zone Areas (By State) - If your shipping zone will service a state in it's entirety you can select the state(s) in this field. If you select the zone will apply to all customers anywhere in the state. If you don't want to service an entire state leave this blank and use the postcodes instead. You could also opt to use states in combination with postcodes if you want to service full states plus select postcodes in other states.
- Zone Areas (By Postcode) - Defines specific postcodes the shipping zone will apply to. You should put 1 postcode and/or range per line. This field will accept a singular postcode e.g. 3000, or a range e.g. 3000 - 3100 per line. When a range is provided all numbers within the range will apply.
- Delivery Schedule - Set your delivery days for this zone for orders in this zone. Leave blank to not use delivery schedules in this zone.
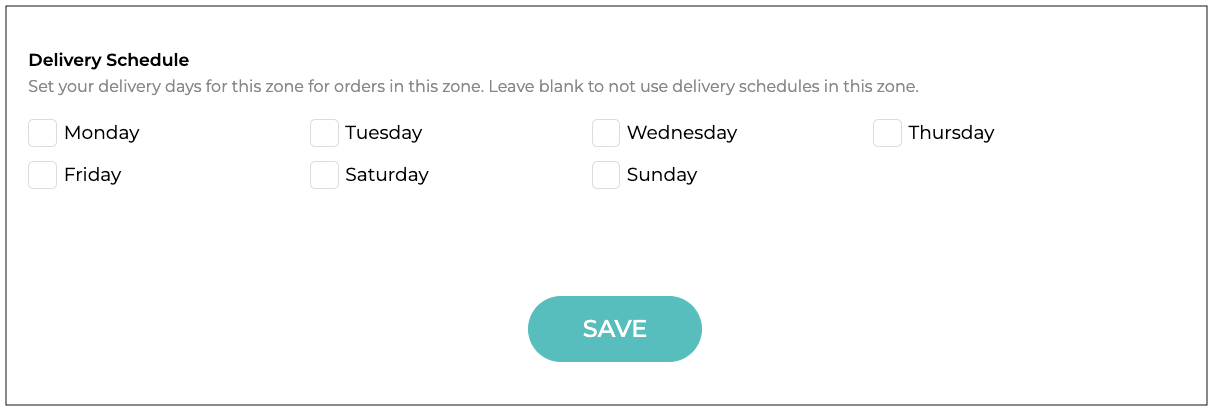
Once the fields are completed click "SAVE" to finalise the zone.
Click on the zone to set-up or change rules that sit within the zone (see the Shipping Rules section below for detailed instructions).
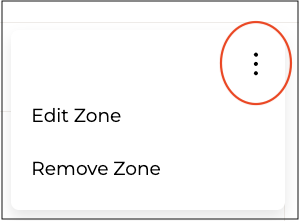
To edit a zone, click on the zone and, on the rules page, click the 3 dots on the top right-hand corner and select "Edit Zone". Edit zone details and click "SAVE".
To remove a zone, click on the zone and, on the rules page, click the 3 dots on the top right-hand corner and select "Remove Zone". Click "Remove" on the pop-up box to confirm removal of that zone.
Please note: Changes to the service areas based on the shipping zones may take up to a few hours to be applied to the marketplace.
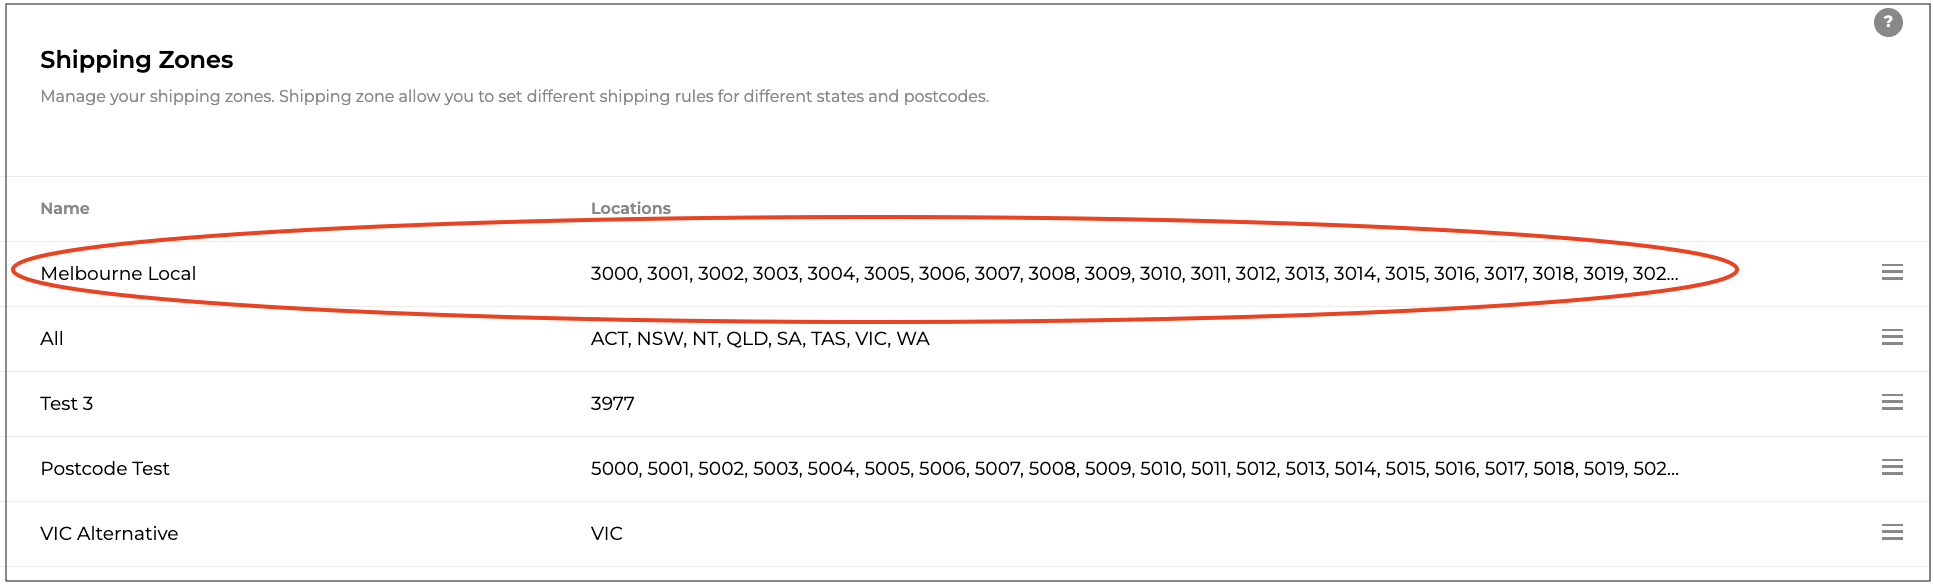
Shipping Zones Order
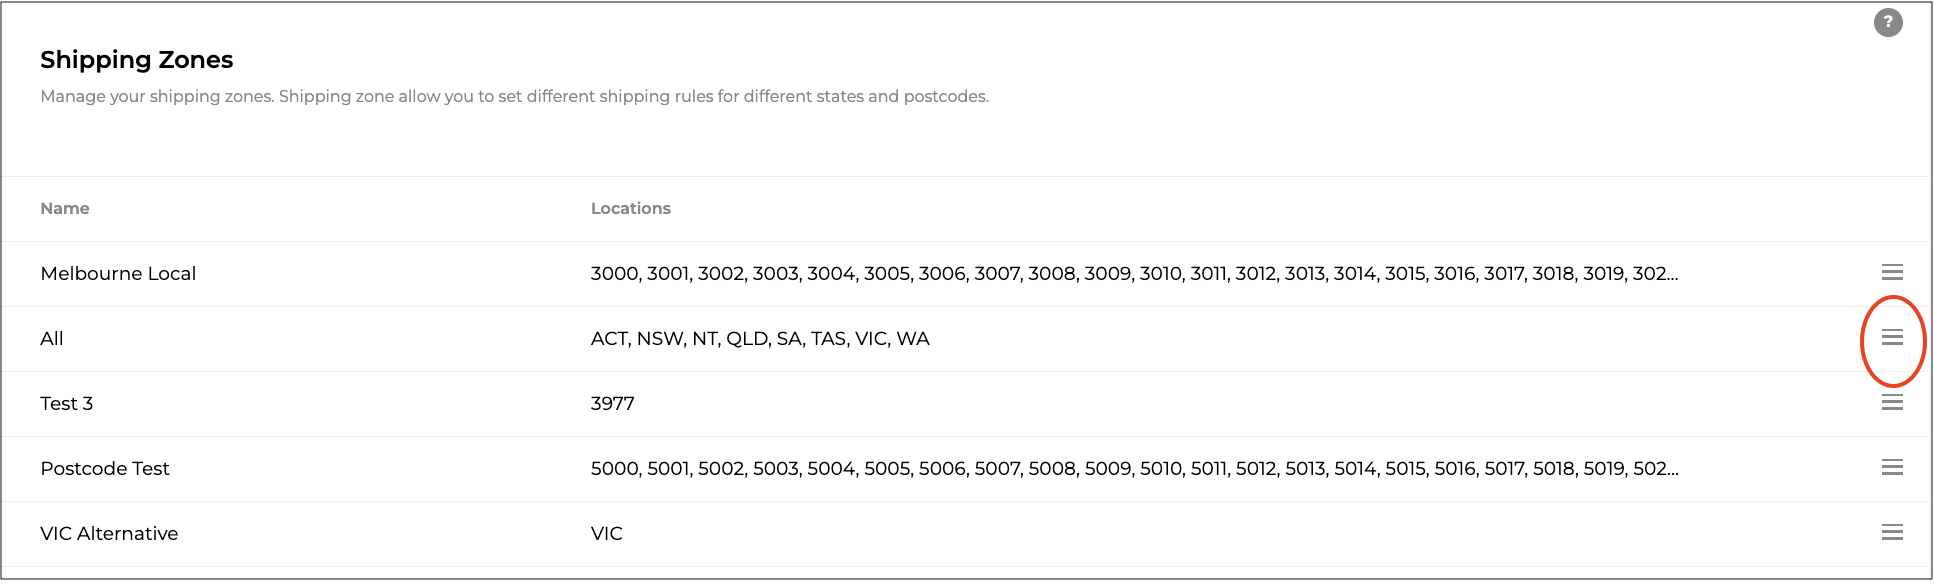
Supply'd will automatically select the zone for orders based on their state or postcode from the zones in the order they appear on the "Shipping Zones" list. For example, a customer within the 3011 postcode falls in the "Melbourne Local" zone and the specific rules, delivery costs etc. will apply. For any orders not within that particular list of postcodes the "All" zone and that zone's specific rules will apply.
The "Shipping Zones" list can easily be reordered by simply clicking and holding on the 3 lines beside a zone and dragging it to the desired position in the list.
Shipping Rules
Shipping rules are set-up within a specific zone. Rules define the different shipping options for the customer at the checkout.
To add a rule click on your company name in the top right then select "Settings" then "Shipping" then click on the zone you would like to add the rule to.
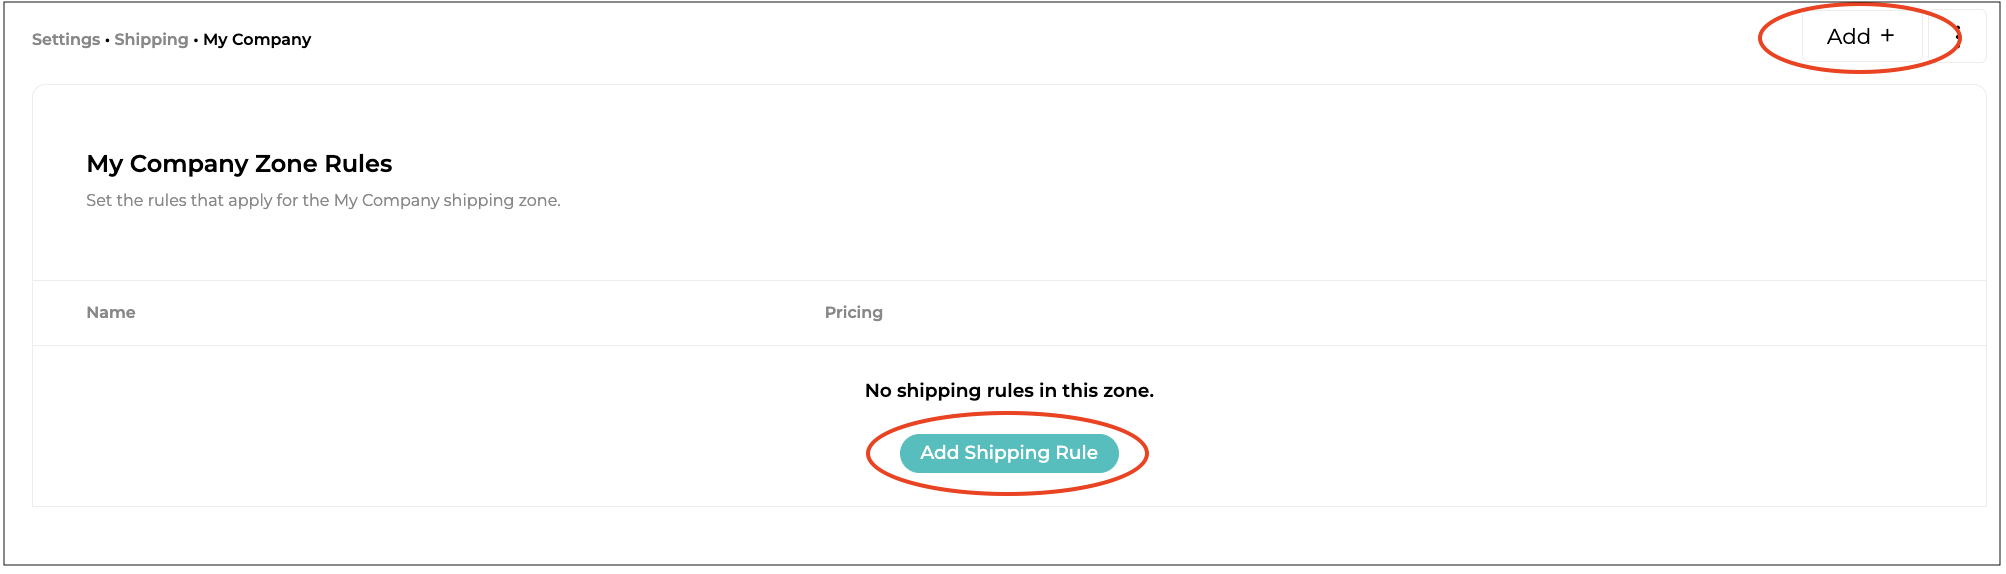
On the rules page click "Add Shipping Rule" (or "Add +" in the top right).
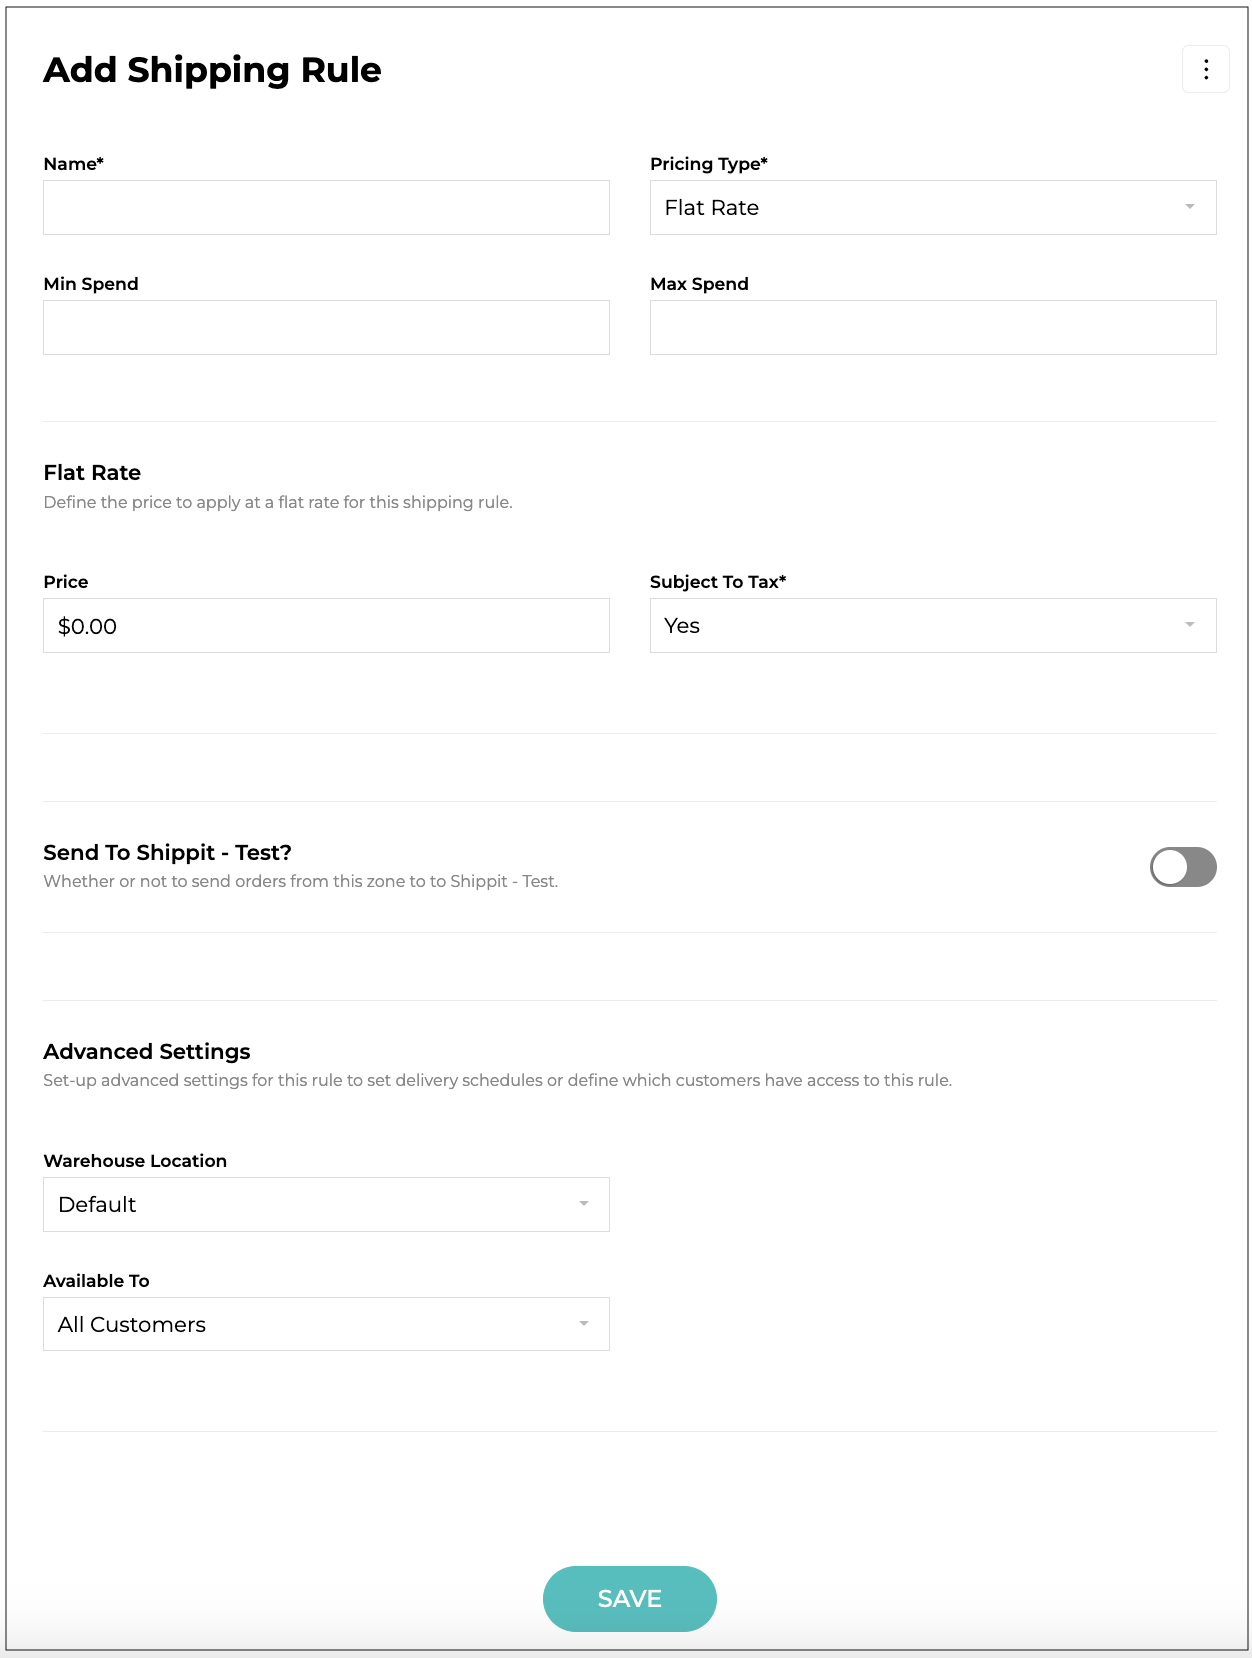
Fill in the fields based on the guidance below:
- Name* [required] - Defines the reference name for the shipping rule. This will be what is displayed to the customer at the checkout. Examples would be: "Standard", "Express", "Next Day Delivery", "Free Shipping".
- Pricing Type* [required] - The pricing type lets you choose how you would like to charge for this rule. Options are:
- Flat Rate
- Calculated
- Free Shipping
- Pick-up
- Shippit Quote (if integrated)
- Min Spend - Defines the minimum spend of the customers entire cart before the rule appears. For example, if you wanted to set free shipping over $100, you would set the value as "$100.00".
- Max Spend - Defines the maximum spend of the customers entire cart for the rule to appear. For example if you have standard shipping available, but offer free standard shipping for orders over $100, you can hide the standard shipping option at the checkout if the value is over $100. To do this you would set the value as "$99.99". You would define it 1 cent less than the min spend of the other option, otherwise if both are set to $100 if the cart value is exactly $100 both options would appear.
- Subject To GST* [required] - Whether or not GST should be charged for the shipping. All pricing provided in other fields would be excluding GST.
- Send To Shippit - This field would only appear if you have set-up an integration with Shippit. The options in this drop down let you define whether or not orders using this shipping rule are sent to Shippit or not, and if they are what is the default shipping type to send as. If you don't want orders using this rule sent to Shippit simply choose "Don't Send". Otherwise choose the default shipping type you would like these orders sent to Shippit as.
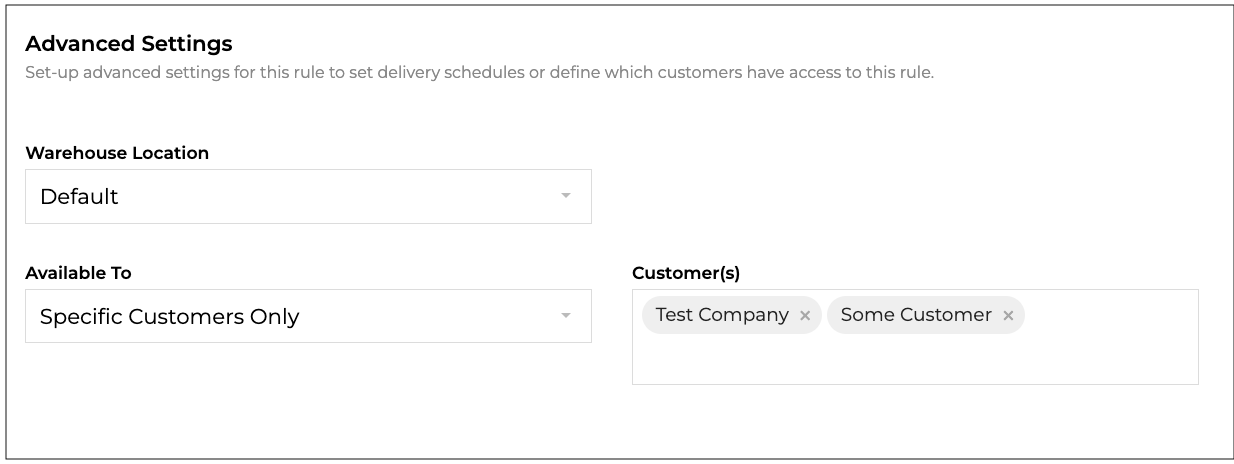
Shippit allows your to streamline your shipping process more efficiently with multiple couriers. To find out how to integration to Shippit click here. - Warehouse Location - If you have multiple warehouse locations, set the warehouse that items will be shipped from for that particular zone.
- Lock To Customer(s) - Optionally select one or more customers who have access to this shipping rule. By selecting customers here the rule will only show for those customers. This is useful if you offer special shipping options or pricing for specific customers.
Pricing Type Options
Flat Rate
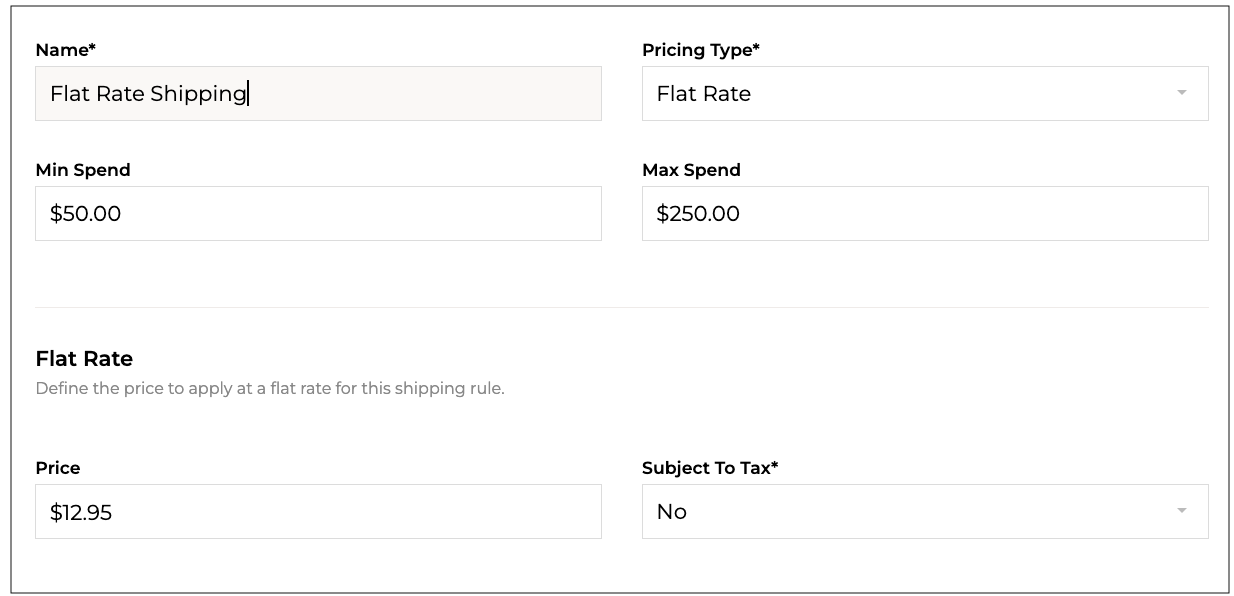
Flat Rate gives you the ability to set a single fixed price to be applied for the rule.
- Name* [Required] - Defines the reference name for the shipping rule. This will be what is displayed to the customer at the checkout. Examples would be; "Standard", "Express", "Next Day Delivery", "Free Shipping".
- Price* [required] - Set the price to apply at a flat rate for this shipping rule.
Calculated
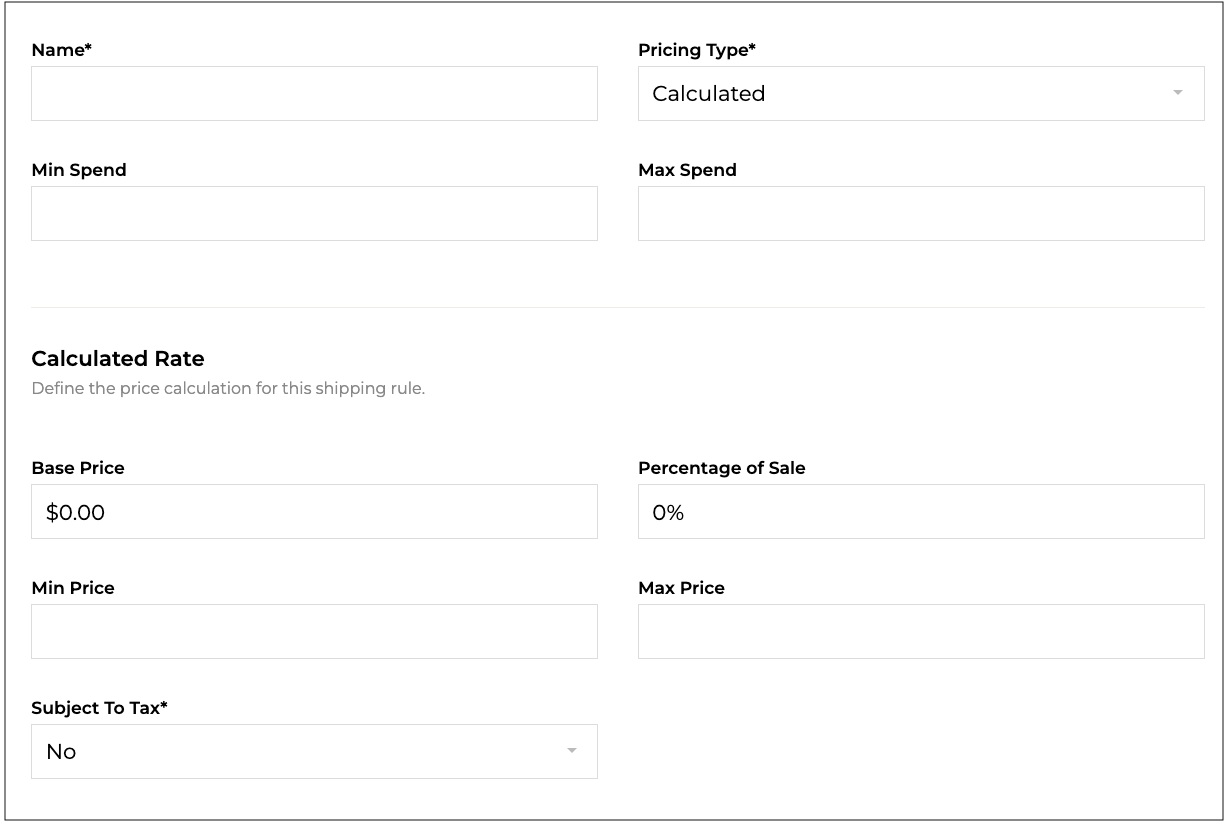
Calculated pricing allows you to set a variable price based on a base price plus a percentage of the sale value.
- Base Price - Defines the base price for the shipping rule. For example free shipping would be left as "$0.00". If you offered fixed price shipping for the rule at $10 you would set the value as "$10.00". You can use the base price in conjunction with the Percentage of Sale option below. In this case it would be calculated as Base Price + Percentage of Sale allowing you to define a base of "$10.00" plus a set percentage of the cart value.
- Percentage of Sale - Defines a percentage to charge based on the total cart value. Do not include the percentage sign. For example if you set the value as "5", on an order of $200 the shipping price would be 5% of the value, in case $10. You can also use this in conjunction with the Base Price field to add a fixed value in addition to the percentage of sale.
- Min Price - Defines a minimum price for the shipping fee. This is useful if you are using the Percentage of Sale option and would like to ensure lower value orders still sit above a minimum cost. For example if you are using the Percentage of Sale option set as "5" (5%), on an order of $50 value the shipping price would be $2.50. In most cases this would not cover the actual cost of shipping. You can set the Min Price value to an amount such as "$10.00" to ensure if the shipping price sits below $10, we would charge $10 instead.
- Max Price - Similarly to the Min Price option you can define a maximum price. This is useful if you are using the Percentage of Sale option and would like to ensure the shipping price doesn't get too much on larger orders. For example if you are using the Percentage of Sale option set as "10" (10%), on an order of $1,500 value the shipping price would be $150. This is a steep cost for shipping and would often lead to abandoned carts. If you never want your customers to pay of $50 for shipping on this rule you would define the value as "$50.00" to ensure if the shipping price sits about $50, we would charge $50 instead.
Free Shipping
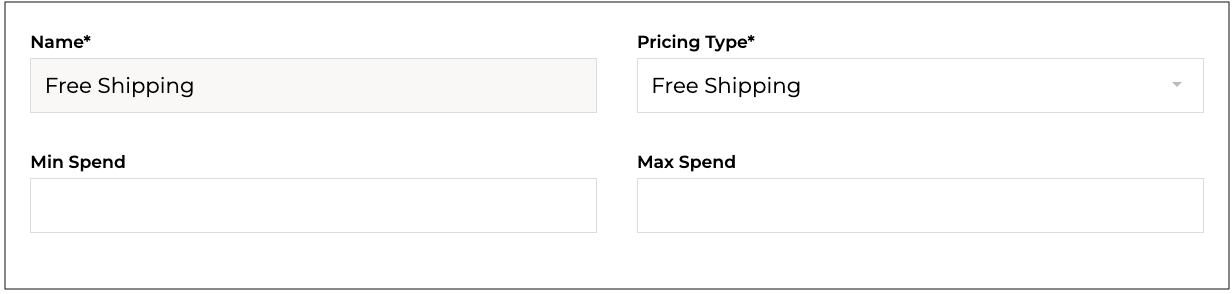
Free Shipping will not charge the customer for shipping when this rule is applied.
Pick-up
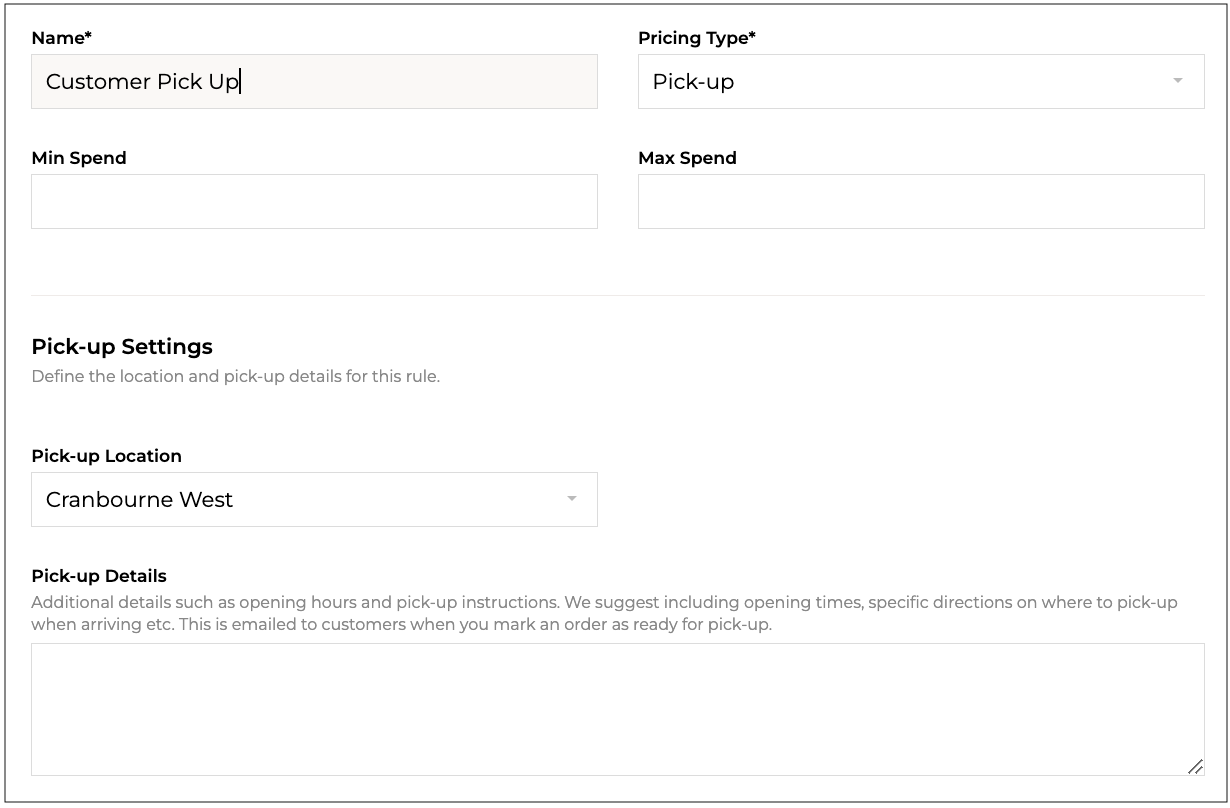
Pick-up can be used for offering pick-up from a location/warehouse. There is no amount charged for this pricing type.
Shippit Quote
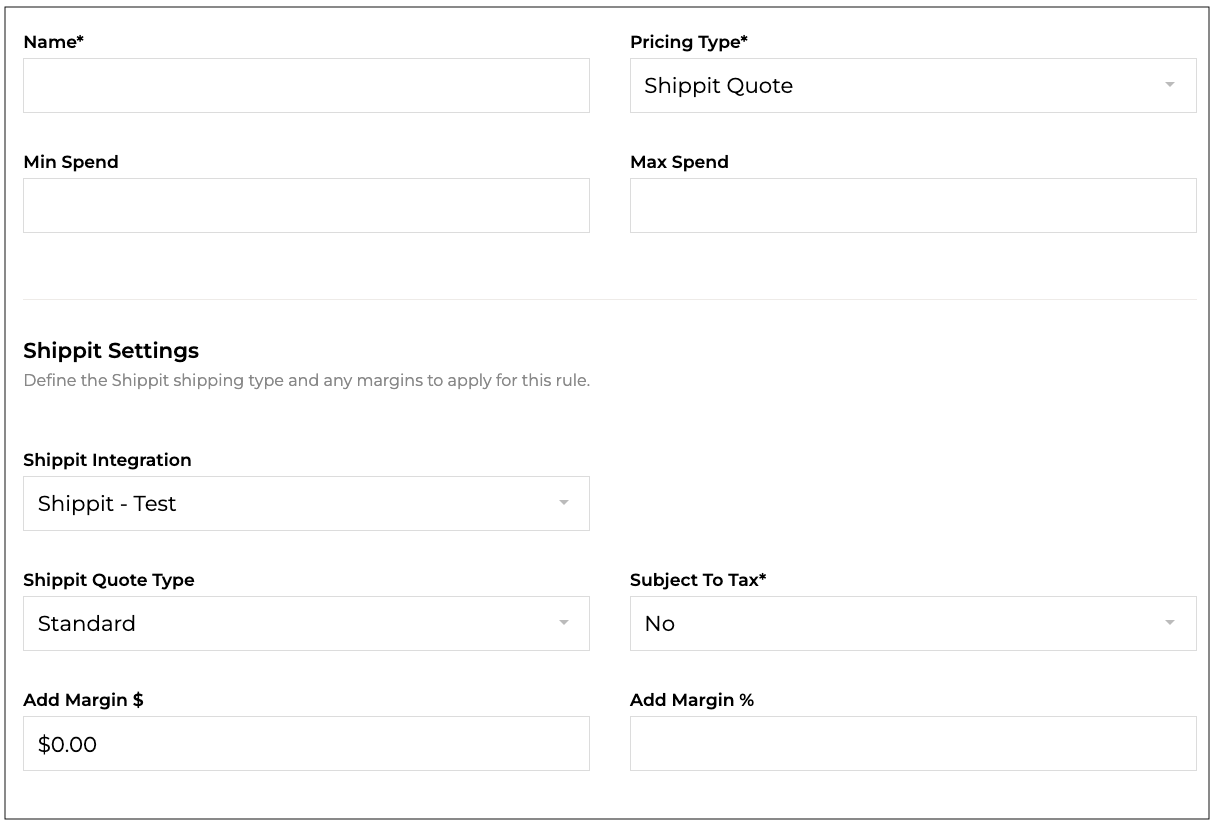
Shippit Quote allows you to charge a quoted amount from Shippit. You will need to add carton dimensions and weights to products for the quoted price to be accurate. Shippit is a third party service you can integrate with Supply'd.
- Shipping Type [required] - Select the service type you'd like to quote for. Options are:
- Standard
- Express
- Priority
- Add Margin $ - Optionally add a margin as a fixed amount in addition to the quoted amount from Shippit. This can be used help cover the cost of packaging and handling if applicable.
- Add Margin % - Optionally add a margin as a percentage of the quoted amount in addition to the quoted amount from Shippit. This can be used help cover the cost of packaging and handling if applicable.

Once the fields are completed click "SAVE" to finalise the rule.
To edit a rule simply click on the rule within the list and edit fields as required, then click "SAVE".
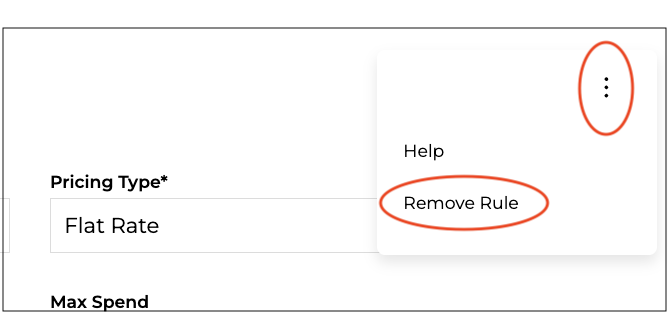
To remove a rule, click the 3 dots on the top right-hand corner and select "Remove Rule". Click "Remove" on the pop-up box to confirm removal of that zone.
Assigning a Zone on a Customer Level
In addition to setting Shipping Zones by state or postcode, as above, Shipping Zones can also be assigned on a customer level. This will provide a subset of shipping zones that can apply to this customer. The location for the customer will still need to match the conditions within a zone and rule for it to apply.
For example, you have a regular customer who you give uses a different delivery service so you want to show an alternative set of rule to them. The zone would then be created as, for example, Vic Alt. In the rules for this zone you would add the applicable rules and rates.
To assign a specific zone to a customer, follow the guideline as follows:
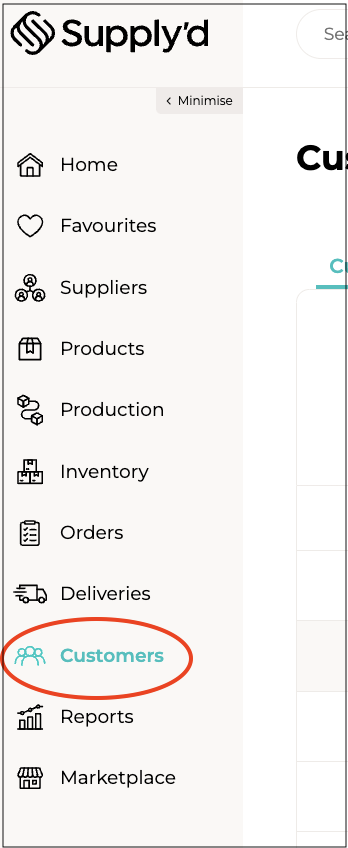
- From the main menu select "Customers".
- From the list of customers select the customer you would like to assign the zone to.
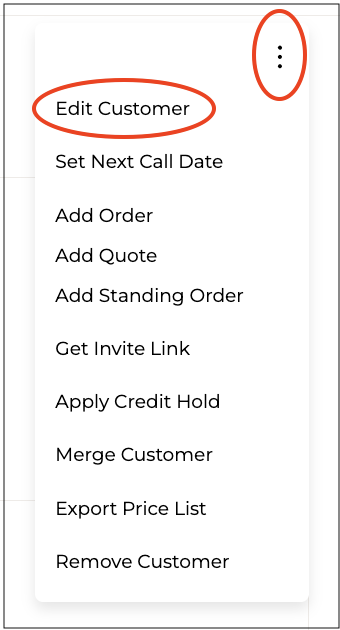
- Click on the 3 dots in the top right-hand corner and select "Edit Customer".
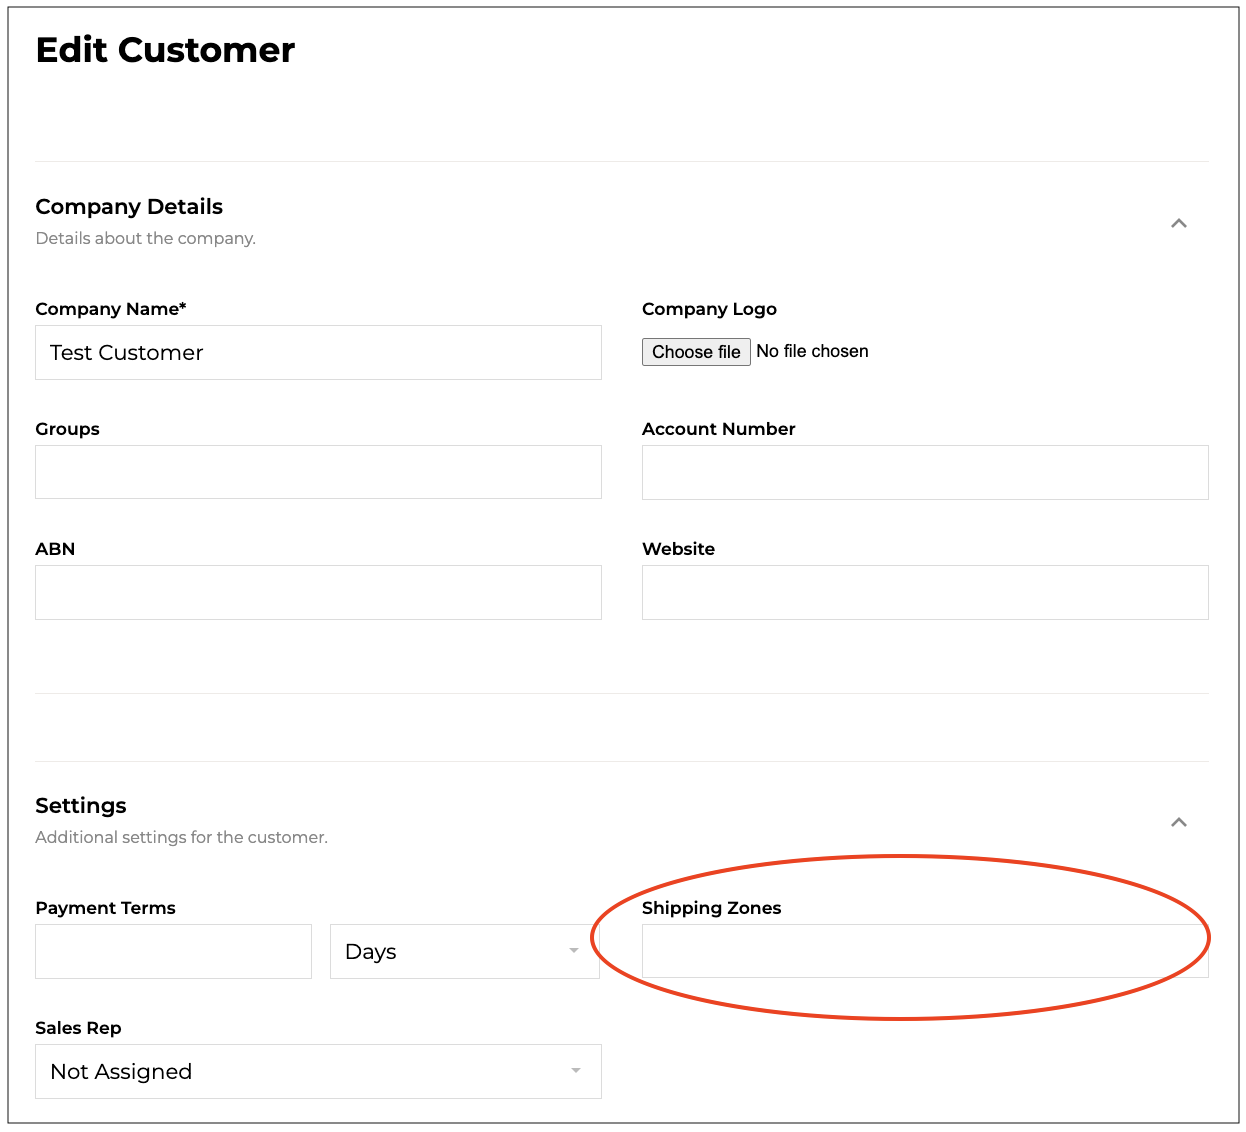
- Click on the "Shipping Zones" field and select the appropriate zone.
- Click"SAVE".
Assigning a Zone on a Product Level
Shipping Zones can also be assigned on a product level. This will override other zones and rules that would normally apply.
For example, you have some products that need refrigerated transport. The cost for this may be a little higher, may only be delivered on certain days, or perhaps you only want to deliver within a certain radius. In that case you would create a separate shipping zone with the rules for that reflecting any special conditions.
When applied if one or more of this item is added to the order/cart, only the selected zones would be available.
To assign a specific zone to a product, follow the guideline as follows:
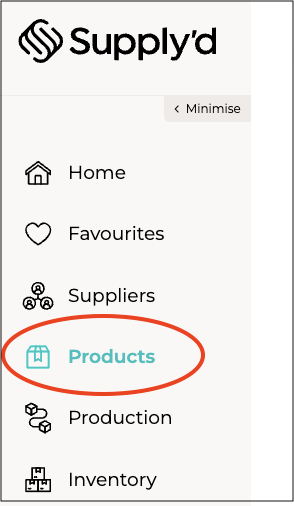
- From the main menu select "Products".
- From the list of products select the product you would like to assign the zone to.
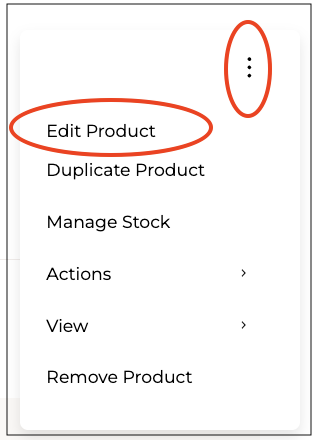
- Click on the 3 dots in the top right-hand corner and select "Edit Product".
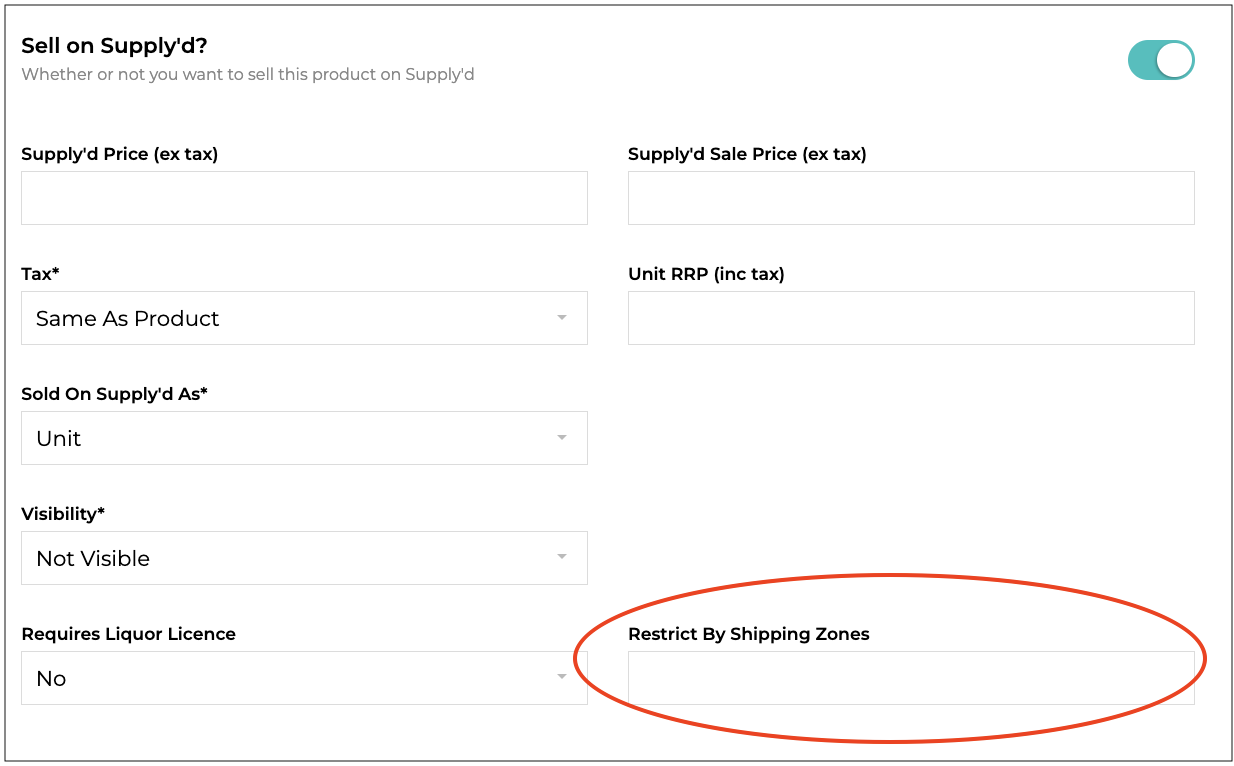
- Click on the "Restrict By Shipping Zones" field and select the appropriate zone.
- Click"SAVE".