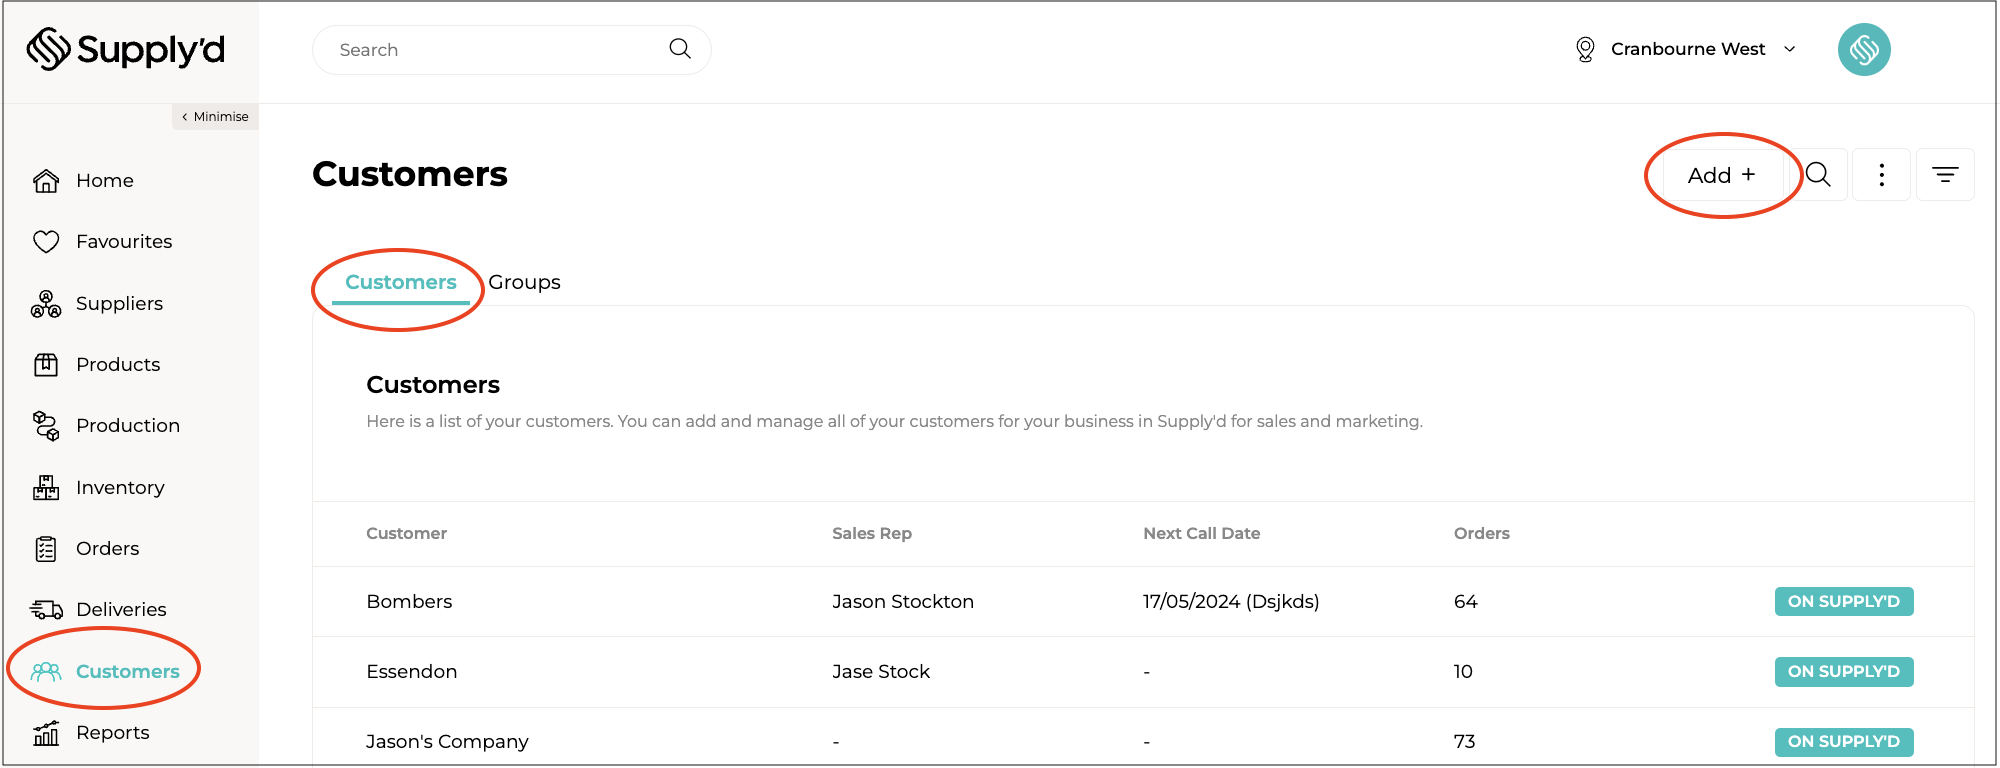
To add a customer to Supply'd, select "Customers" from the main menu, then click "Add +".
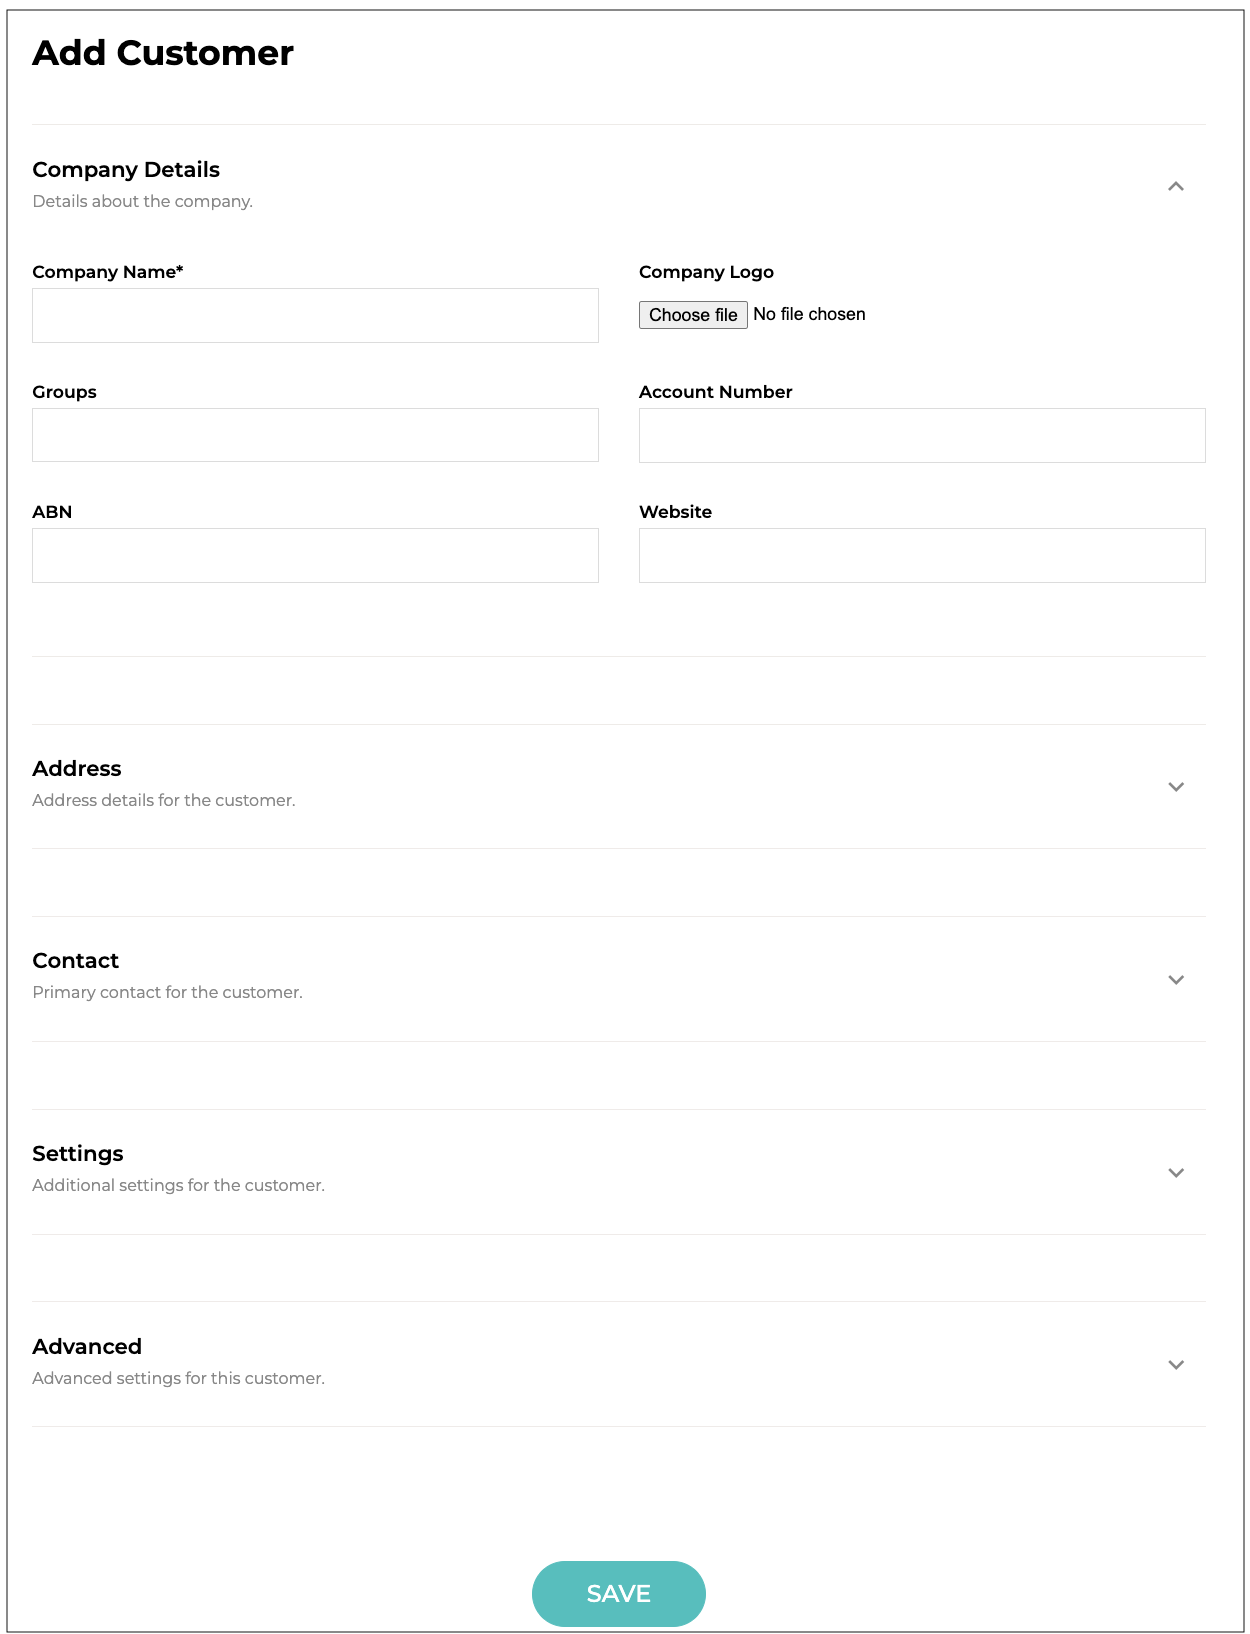
The "Add Customer" form will open. Complete the form as follows. Clicking the little arrow to the side will open each section for completion.
Company Details:
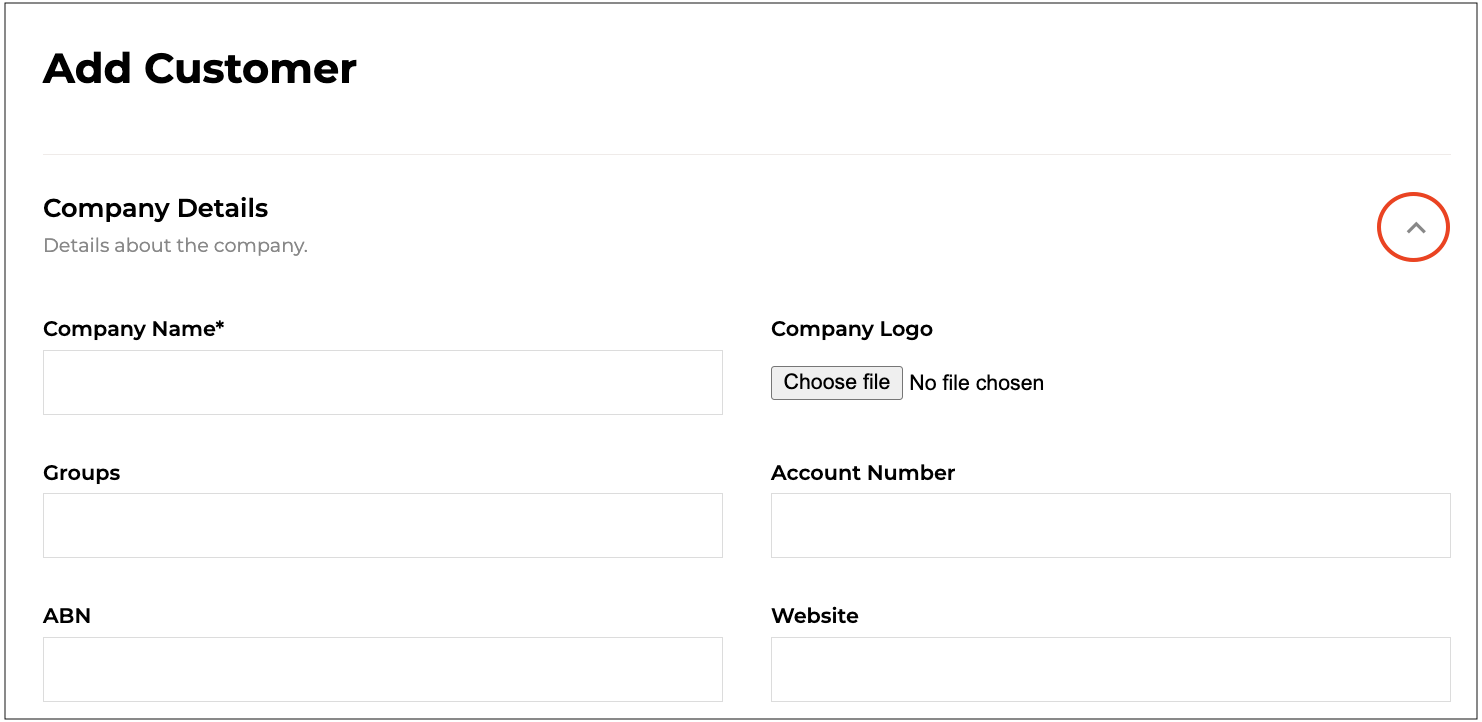
- Company Name* [Required] - The trading name of your customer's business.
- Company Logo - Upload the customer's company logo. It is recommended to use a PNG image with a transparent background. Square images work best if available at least 500px wide. Wider images can be used as well. JPG images are also accepted.
- Groups - Any customer Groups you would like to assign to this customer (see below for more information on Customer Groups).
- Account Number - An optional account number for this customer.
- ABN - The customer's company ABN.
- Website - The customer's company/business website address. If they don't have a website you can use a Facebook or Instagram URL.
Address:

- Billing Address - The customer's street address for billing.
- Billing Suburb - The customer's suburb for billing.
- Billing State - The customer's state for billing.
- Billing Postcode - The customer's postcode for billing.
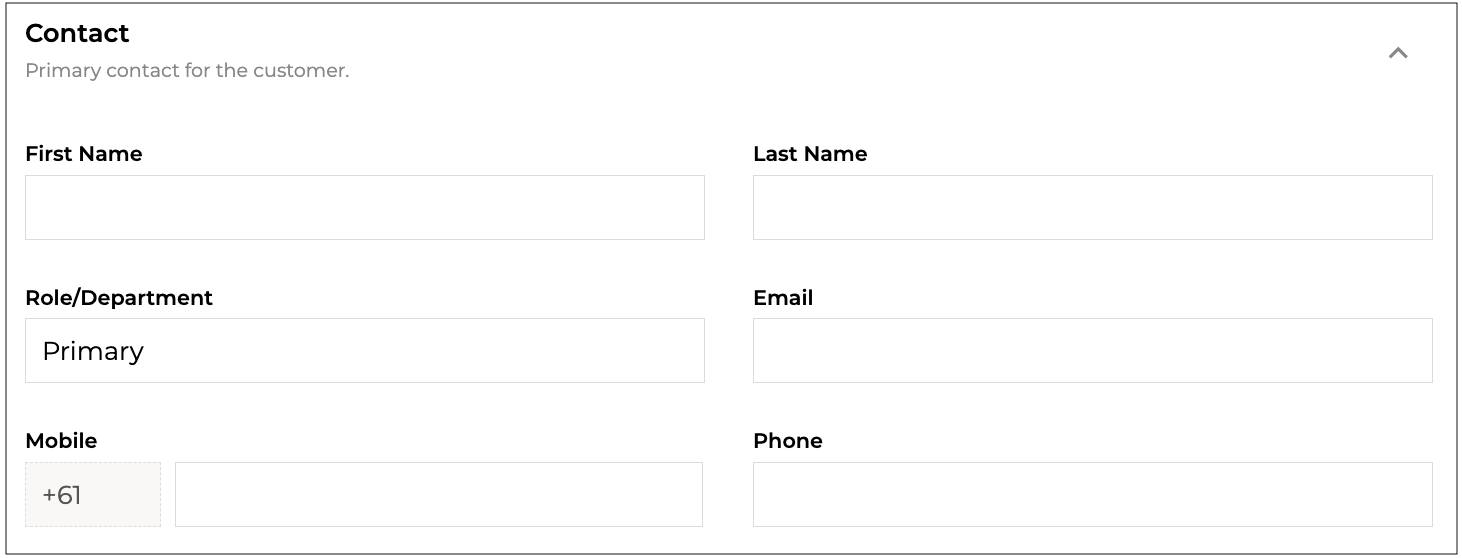
Contact:
- First Name - The first name of a representative/contact for the customer's business/company.
- Last Name - The last name/surname of a representative/contact for the customer's business/company.
- Role/Department - The role or department of the contact, eg. Store Manager, Accounts, etc.
- Email - A contact email for the customer.
- Mobile - A contact mobile phone number for the customer.
- Phone - A contact phone number for the customer.
Settings:
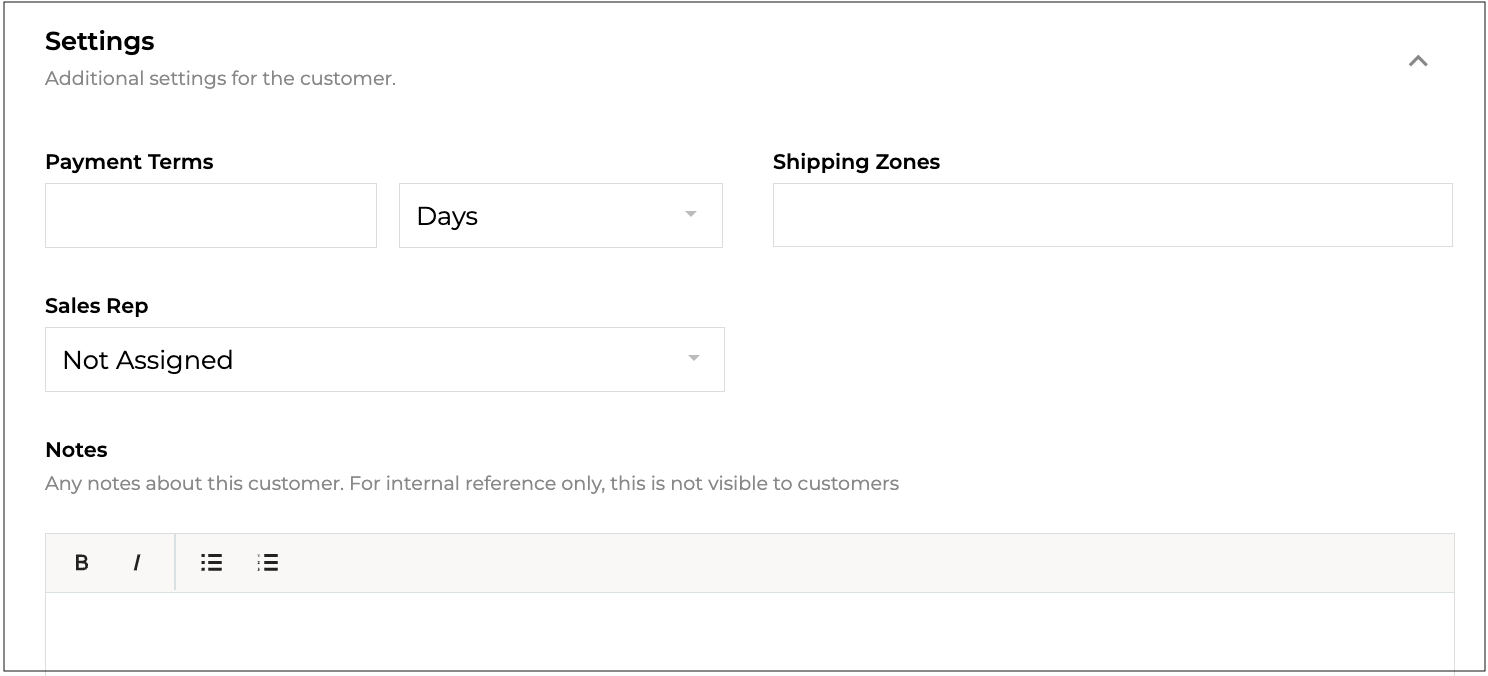
- Payment Terms - Enter the payment terms to apply to this customer's invoices. Leave blank to use the default terms set in your supplier settings.
- Shipping Zones - Set specific Shipping Zones that are allowed for this customer. Leave blank to not restrict zones.
- Sales Rep - Assign a sales representative to this customer.
- Notes - Any notes about this customer. For internal reference only, this is not visible to customers
Advanced:
- Order Alert - An internal alert to show when creating an order for this customer. This alert is not visible to customers.
- Xero Contact ID - (Will only show if integrated to Xero) If not set, the Contact ID will automatically be matched to the using the customer name or ABN.
To locate the Contact ID, navigate to the contact in Xero. When on the contact page, in the URL bar after "contact/" will be the Contact ID. Do not include the forward slash ( / ) before or after.
The contact is the URL in the bolded position as per the example below (it will be longer than this:
xero.com/XX/contact/xxxx-xxxx-xxxx/activity/
Click "SAVE" to save all the customer's details. The new customer will show in the "Customers" list.
Customer Groups
Customer Groups allows you to group your customers for easy filtering, group pricing and more. Create a group then you can assign customers to the group when editing a group.
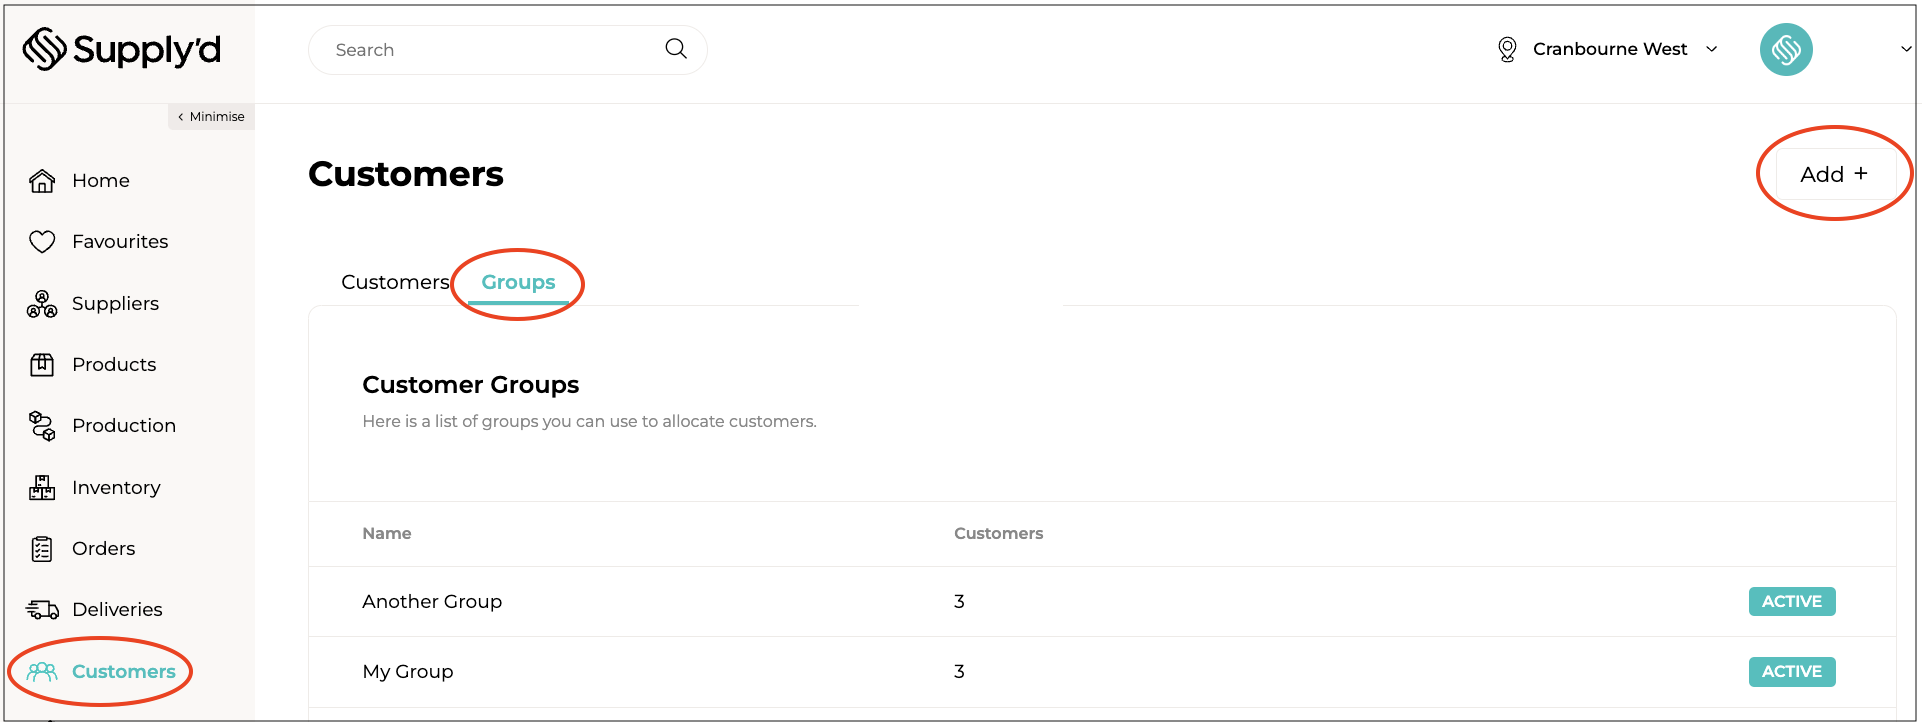
To add a Customer Group to Supply'd, select "Customers" from the main menu, then click on the "Groups" tab, and click "Add +".
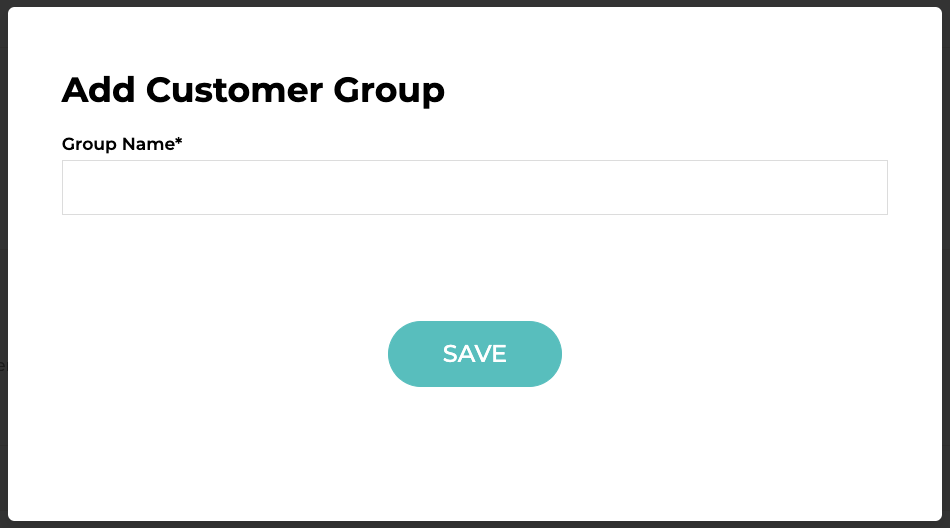
The "Add Customer Group" form will open. Simply add type name in the "Group Name* [Required]" field.
Click "SAVE" and the new customer group will show in the "Customer Groups" list.
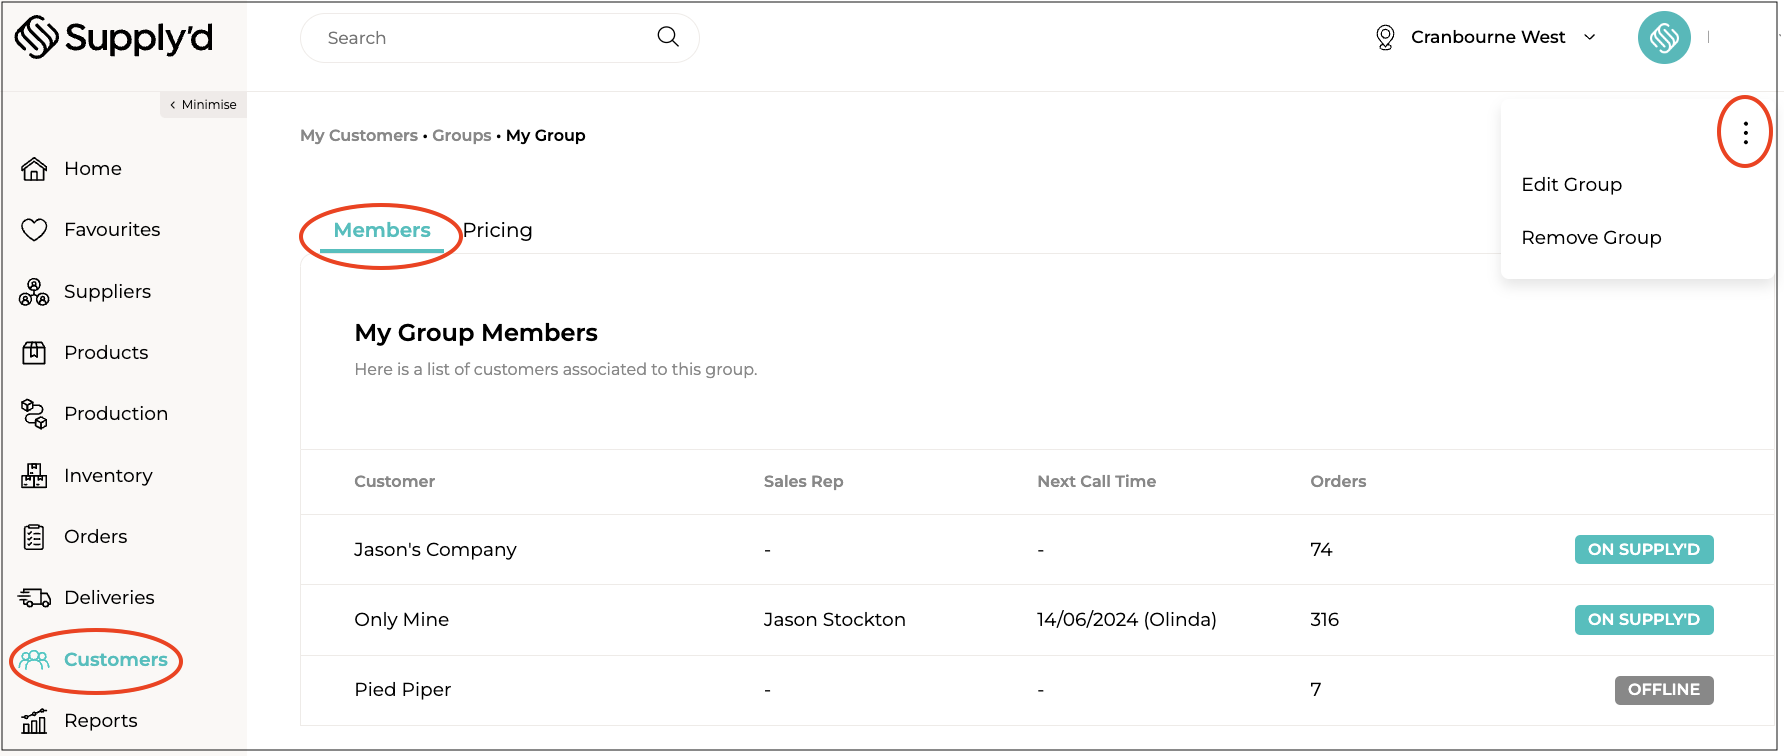
Selecting a group, the "Members" tab will show you a list of any members you have assigned to the group. Clicking on the three dots on the top right-hand corner will give you the following options:
- Edit Group - Allows you to change the group name.
- Remove Group - Allows you to remove the group. You will be asked to confirm.
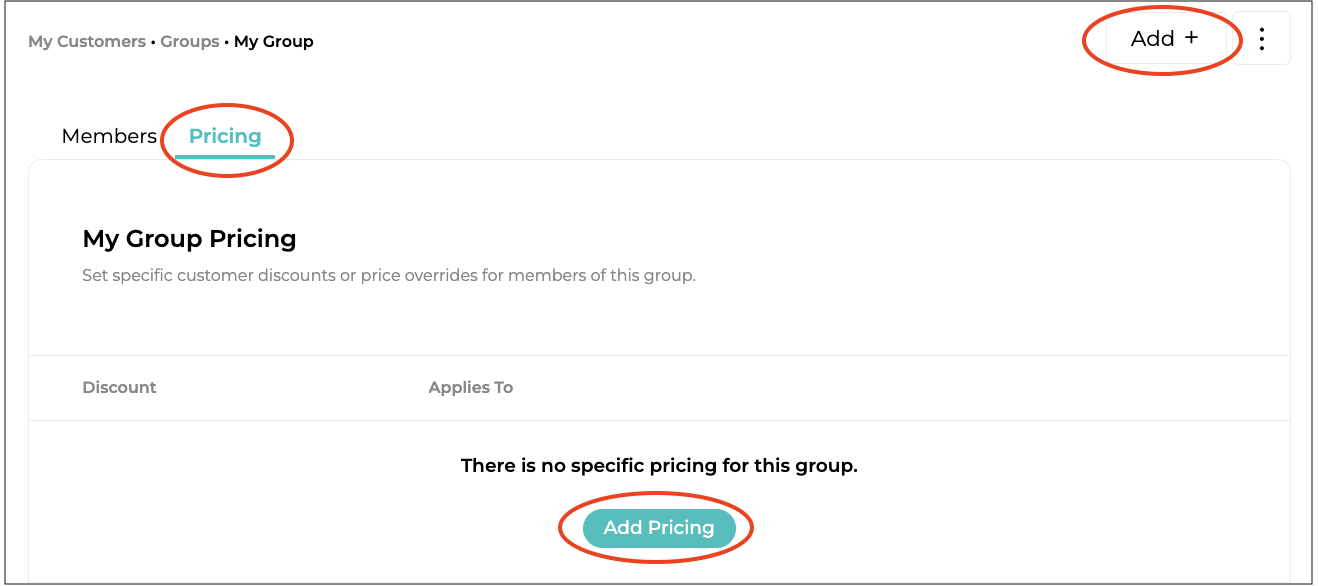
The "Pricing" tab will show any special pricing or discounts that have been applied to this group of customers.
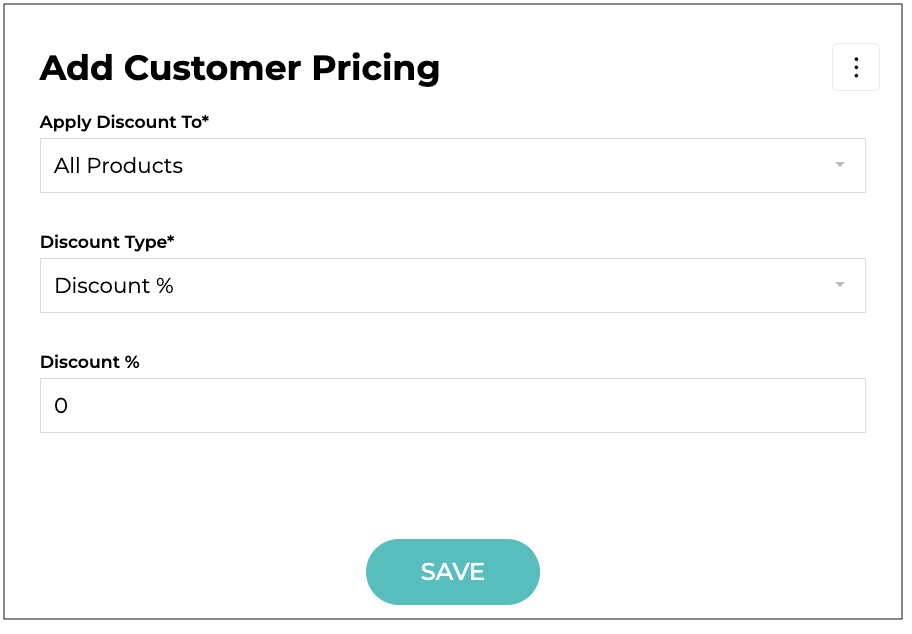
To set specific customer discounts or price overrides for the members of this group, click on either the "Add Pricing" button or "Add +" on the top right-hand corner and follow the instructions in the How to Apply Customer Specific Pricing article.

